Embed Size (px)
Citation preview

Debian Server Installation
Evil
11. Mai 2014
Inhaltsverzeichnis
1 Vorwort 3
2 Fernwartung 32.1 SSH (Remote Zugri�) . . . . . . . . . . . . . . . . . . . . . . . . . . . . . 32.2 Webmin (Remote Administration per Web-Interface) . . . . . . . . . . . . 32.3 ddclient (DynDNS Client) . . . . . . . . . . . . . . . . . . . . . . . . . . . 3
3 WLAN-Access Point 43.1 hostapd (IEEE 802.11 AP, IEEE 802.1X/WPA/WPA2/EAP/RADIUS
Authenticator) . . . . . . . . . . . . . . . . . . . . . . . . . . . . . . . . . 4
4 Fileserver/NAS 74.1 Samba (Windows Fileserver) . . . . . . . . . . . . . . . . . . . . . . . . . . 74.2 Proftp (FTP-Server) . . . . . . . . . . . . . . . . . . . . . . . . . . . . . . 84.3 MySecureShell (SFTP-Server) . . . . . . . . . . . . . . . . . . . . . . . . . 94.4 ntfs-3g (NTFS Dateisystem Support) . . . . . . . . . . . . . . . . . . . . . 10
4.4.1 Installation . . . . . . . . . . . . . . . . . . . . . . . . . . . . . . . 104.4.2 Update . . . . . . . . . . . . . . . . . . . . . . . . . . . . . . . . . 104.4.3 Beispiel Partitionierung und mounten . . . . . . . . . . . . . . . . 11
4.5 usbmount (Automatisches Einbinden von USB Speichermedien) . . . . . . 114.6 Rsync (Datei Synchronisierung) . . . . . . . . . . . . . . . . . . . . . . . . 13
5 Mail Transfer/Web-Server/Twitter 135.1 nullmailer - MTA (Mail Transfer Agent) . . . . . . . . . . . . . . . . . . . 135.2 lighttp (Web-Server) . . . . . . . . . . . . . . . . . . . . . . . . . . . . . . 155.3 bti (Micro-blogging) . . . . . . . . . . . . . . . . . . . . . . . . . . . . . . 16
6 Download-Server 176.1 MLDonkey (P2P Client) . . . . . . . . . . . . . . . . . . . . . . . . . . . . 17
6.1.1 Installation . . . . . . . . . . . . . . . . . . . . . . . . . . . . . . . 17
1
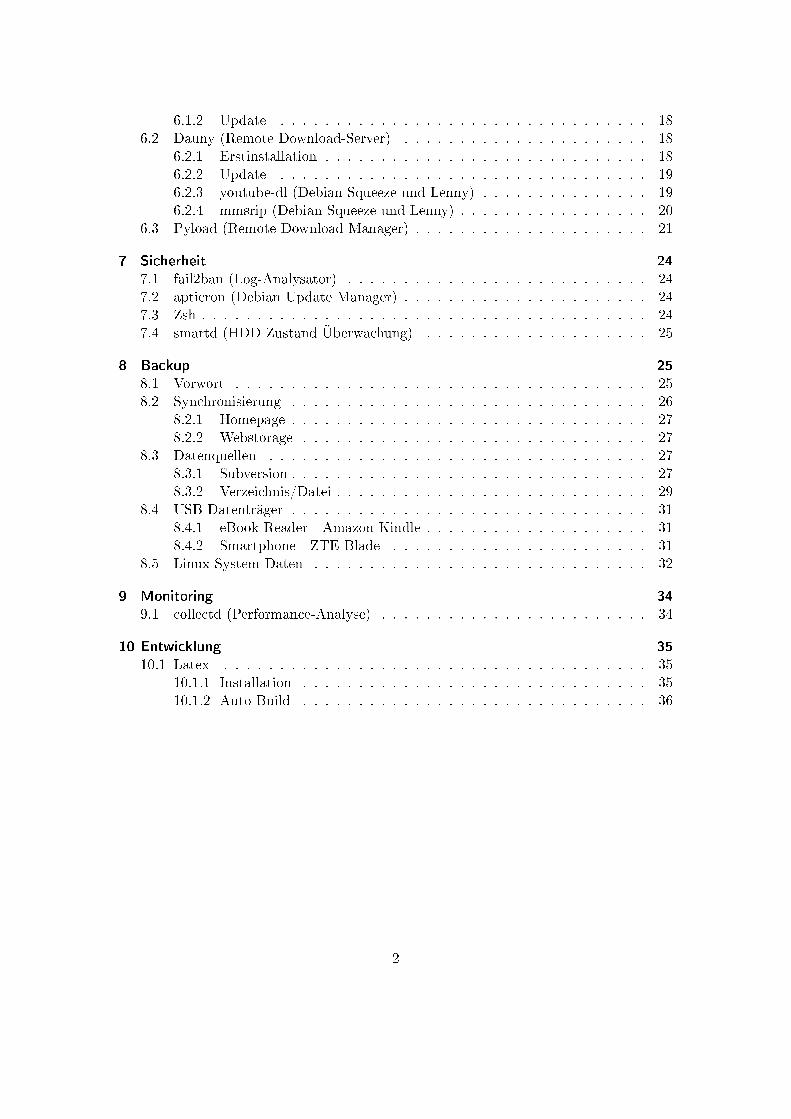
6.1.2 Update . . . . . . . . . . . . . . . . . . . . . . . . . . . . . . . . . 186.2 Dauny (Remote Download-Server) . . . . . . . . . . . . . . . . . . . . . . 18
6.2.1 Erstinstallation . . . . . . . . . . . . . . . . . . . . . . . . . . . . . 186.2.2 Update . . . . . . . . . . . . . . . . . . . . . . . . . . . . . . . . . 196.2.3 youtube-dl (Debian Squeeze und Lenny) . . . . . . . . . . . . . . . 196.2.4 mmsrip (Debian Squeeze und Lenny) . . . . . . . . . . . . . . . . . 20
6.3 Pyload (Remote Download Manager) . . . . . . . . . . . . . . . . . . . . . 21
7 Sicherheit 247.1 fail2ban (Log-Analysator) . . . . . . . . . . . . . . . . . . . . . . . . . . . 247.2 apticron (Debian Update Manager) . . . . . . . . . . . . . . . . . . . . . . 247.3 Zsh . . . . . . . . . . . . . . . . . . . . . . . . . . . . . . . . . . . . . . . . 247.4 smartd (HDD Zustand Überwachung) . . . . . . . . . . . . . . . . . . . . 25
8 Backup 258.1 Vorwort . . . . . . . . . . . . . . . . . . . . . . . . . . . . . . . . . . . . . 258.2 Synchronisierung . . . . . . . . . . . . . . . . . . . . . . . . . . . . . . . . 26
8.2.1 Homepage . . . . . . . . . . . . . . . . . . . . . . . . . . . . . . . . 278.2.2 Webstorage . . . . . . . . . . . . . . . . . . . . . . . . . . . . . . . 27
8.3 Datenquellen . . . . . . . . . . . . . . . . . . . . . . . . . . . . . . . . . . 278.3.1 Subversion . . . . . . . . . . . . . . . . . . . . . . . . . . . . . . . . 278.3.2 Verzeichnis/Datei . . . . . . . . . . . . . . . . . . . . . . . . . . . . 29
8.4 USB Datenträger . . . . . . . . . . . . . . . . . . . . . . . . . . . . . . . . 318.4.1 eBook Reader - Amazon Kindle . . . . . . . . . . . . . . . . . . . . 318.4.2 Smartphone - ZTE Blade . . . . . . . . . . . . . . . . . . . . . . . 31
8.5 Linux System Daten . . . . . . . . . . . . . . . . . . . . . . . . . . . . . . 32
9 Monitoring 349.1 collectd (Performance-Analyse) . . . . . . . . . . . . . . . . . . . . . . . . 34
10 Entwicklung 3510.1 Latex . . . . . . . . . . . . . . . . . . . . . . . . . . . . . . . . . . . . . . 35
10.1.1 Installation . . . . . . . . . . . . . . . . . . . . . . . . . . . . . . . 3510.1.2 Auto-Build . . . . . . . . . . . . . . . . . . . . . . . . . . . . . . . 36
2
1 Vorwort
Diese Dokumentation ist eine Erweiterung bzw. der zweite Teil der Dokumentationen 'De-bian Server Installation auf einem Thin Client'. Es wird deshalb von einem bestehendenDebian Lenny oder Squeeze System ausgegangen. Das Dokument beschreibt die Instal-lation von verschiedenen Serverdiensten und Programmen um aus einem Thin Clienteinen vollwertigen NAS zu machen. Dabei werden die Bereich Fernwartung, Fileserver,Download-Server und Backup-Server abgedeckt.
2 Fernwartung
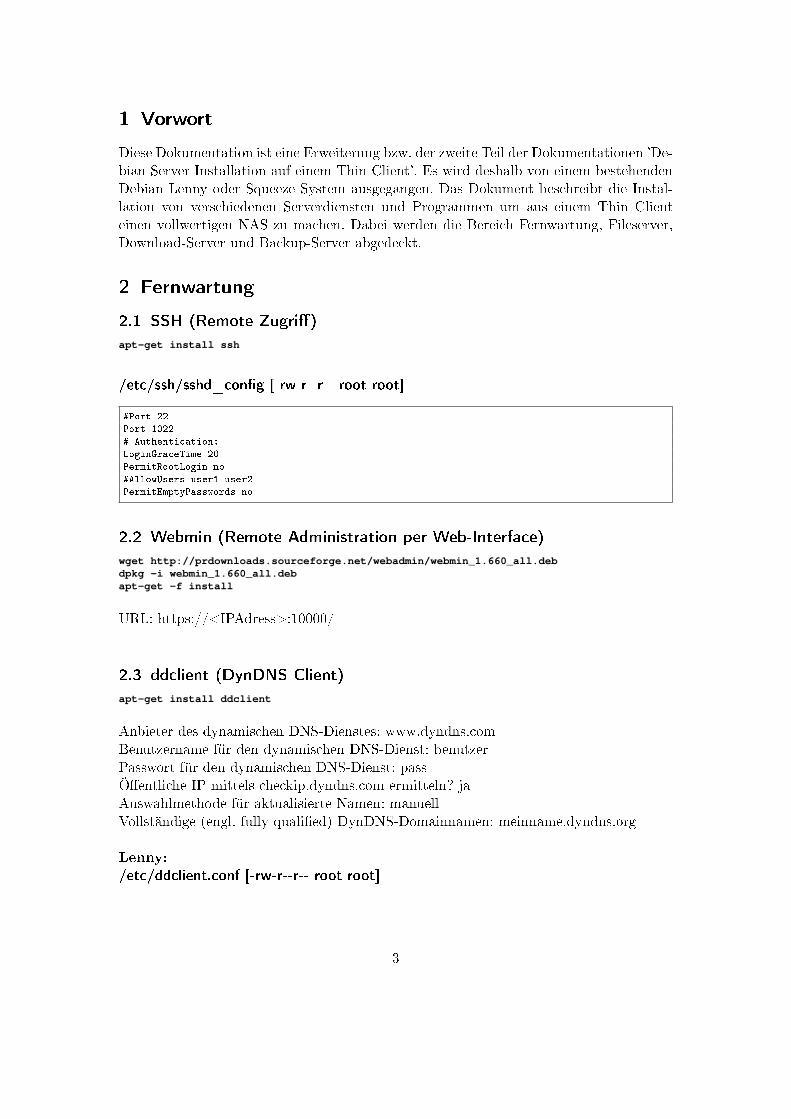
2.1 SSH (Remote Zugri�)apt-get install ssh
/etc/ssh/sshd_con�g [-rw-r--r-- root root]
#Port 22
Port 1022
# Authentication:
LoginGraceTime 20
PermitRootLogin no
#AllowUsers user1 user2
PermitEmptyPasswords no
2.2 Webmin (Remote Administration per Web-Interface)wget http://prdownloads.sourceforge.net/webadmin/webmin_1.660_all.debdpkg -i webmin_1.660_all.debapt-get -f install
URL: https://<IPAdress>:10000/
2.3 ddclient (DynDNS Client)apt-get install ddclient
Anbieter des dynamischen DNS-Dienstes: www.dyndns.comBenutzername für den dynamischen DNS-Dienst: benutzerPasswort für den dynamischen DNS-Dienst: passÖ�entliche IP mittels checkip.dyndns.com ermitteln? jaAuswahlmethode für aktualisierte Namen: manuellVollständige (engl. fully quali�ed) DynDNS-Domainnamen: meinname.dyndns.org
Lenny:
/etc/ddclient.conf [-rw-r--r-- root root]
3
pid=/var/run/ddclient.pid
protocol=dyndns2
syslog=yes # log update msgs to syslog
ssl=yes # use ssl-support.
daemon=300 # check every 300 seconds
#use=if, if=eth0
use=web
server=members.dyndns.org
login=benutzer
password='pass'
meinname.dyndns.org
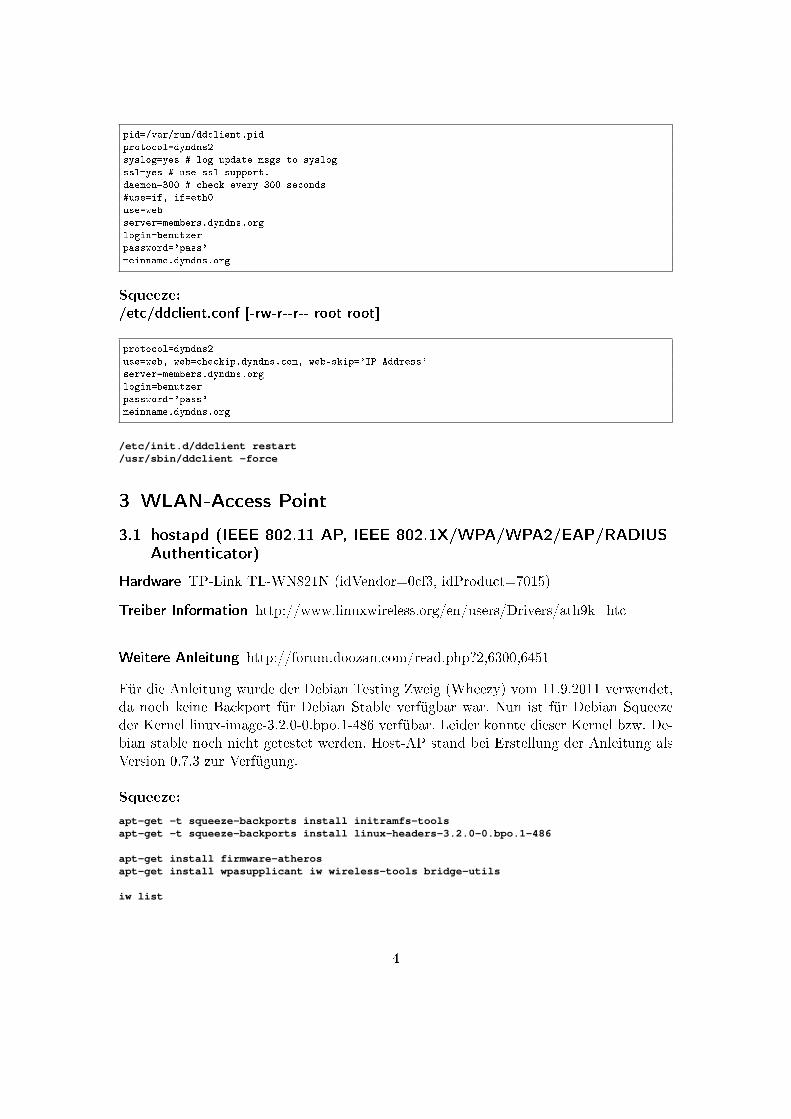
Squeeze:
/etc/ddclient.conf [-rw-r--r-- root root]
protocol=dyndns2
use=web, web=checkip.dyndns.com, web-skip='IP Address'
server=members.dyndns.org
login=benutzer
password='pass'
meinname.dyndns.org
/etc/init.d/ddclient restart/usr/sbin/ddclient -force
3 WLAN-Access Point
3.1 hostapd (IEEE 802.11 AP, IEEE 802.1X/WPA/WPA2/EAP/RADIUSAuthenticator)
Hardware TP-Link TL-WN821N (idVendor=0cf3, idProduct=7015)
Treiber Information http://www.linuxwireless.org/en/users/Drivers/ath9k_htc
Weitere Anleitung http://forum.doozan.com/read.php?2,6300,6451
Für die Anleitung wurde der Debian Testing Zweig (Wheezy) vom 11.9.2011 verwendet,da noch keine Backport für Debian Stable verfügbar war. Nun ist für Debian Squeezeder Kernel linux-image-3.2.0-0.bpo.1-486 verfübar. Leider konnte dieser Kernel bzw. De-bian stable noch nicht getestet werden. Host-AP stand bei Erstellung der Anleitung alsVersion 0.7.3 zur Verfügung.
Squeeze:
apt-get -t squeeze-backports install initramfs-toolsapt-get -t squeeze-backports install linux-headers-3.2.0-0.bpo.1-486
apt-get install firmware-atherosapt-get install wpasupplicant iw wireless-tools bridge-utils
iw list
4
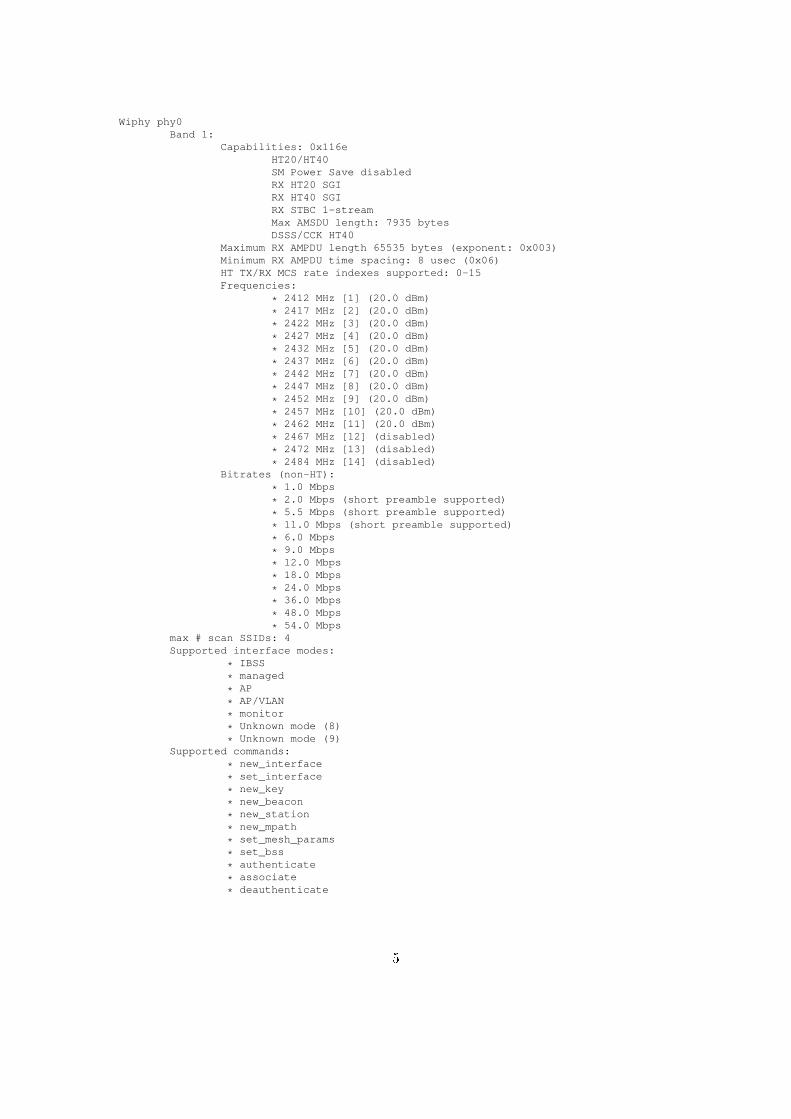
Wiphy phy0Band 1:
Capabilities: 0x116eHT20/HT40SM Power Save disabledRX HT20 SGIRX HT40 SGIRX STBC 1-streamMax AMSDU length: 7935 bytesDSSS/CCK HT40
Maximum RX AMPDU length 65535 bytes (exponent: 0x003)Minimum RX AMPDU time spacing: 8 usec (0x06)HT TX/RX MCS rate indexes supported: 0-15Frequencies:
* 2412 MHz [1] (20.0 dBm)
* 2417 MHz [2] (20.0 dBm)
* 2422 MHz [3] (20.0 dBm)
* 2427 MHz [4] (20.0 dBm)
* 2432 MHz [5] (20.0 dBm)
* 2437 MHz [6] (20.0 dBm)
* 2442 MHz [7] (20.0 dBm)
* 2447 MHz [8] (20.0 dBm)
* 2452 MHz [9] (20.0 dBm)
* 2457 MHz [10] (20.0 dBm)
* 2462 MHz [11] (20.0 dBm)
* 2467 MHz [12] (disabled)
* 2472 MHz [13] (disabled)
* 2484 MHz [14] (disabled)Bitrates (non-HT):
* 1.0 Mbps
* 2.0 Mbps (short preamble supported)
* 5.5 Mbps (short preamble supported)
* 11.0 Mbps (short preamble supported)
* 6.0 Mbps
* 9.0 Mbps
* 12.0 Mbps
* 18.0 Mbps
* 24.0 Mbps
* 36.0 Mbps
* 48.0 Mbps
* 54.0 Mbpsmax # scan SSIDs: 4Supported interface modes:
* IBSS
* managed
* AP
* AP/VLAN
* monitor
* Unknown mode (8)
* Unknown mode (9)Supported commands:
* new_interface
* set_interface
* new_key
* new_beacon
* new_station
* new_mpath
* set_mesh_params
* set_bss
* authenticate
* associate
* deauthenticate
5
* disassociate
* join_ibss
* Unknown command (68)
* Unknown command (55)
* Unknown command (57)
* Unknown command (59)
* Unknown command (67)
* set_wiphy_netns
* Unknown command (65)
* Unknown command (66)
* connect
* disconnect
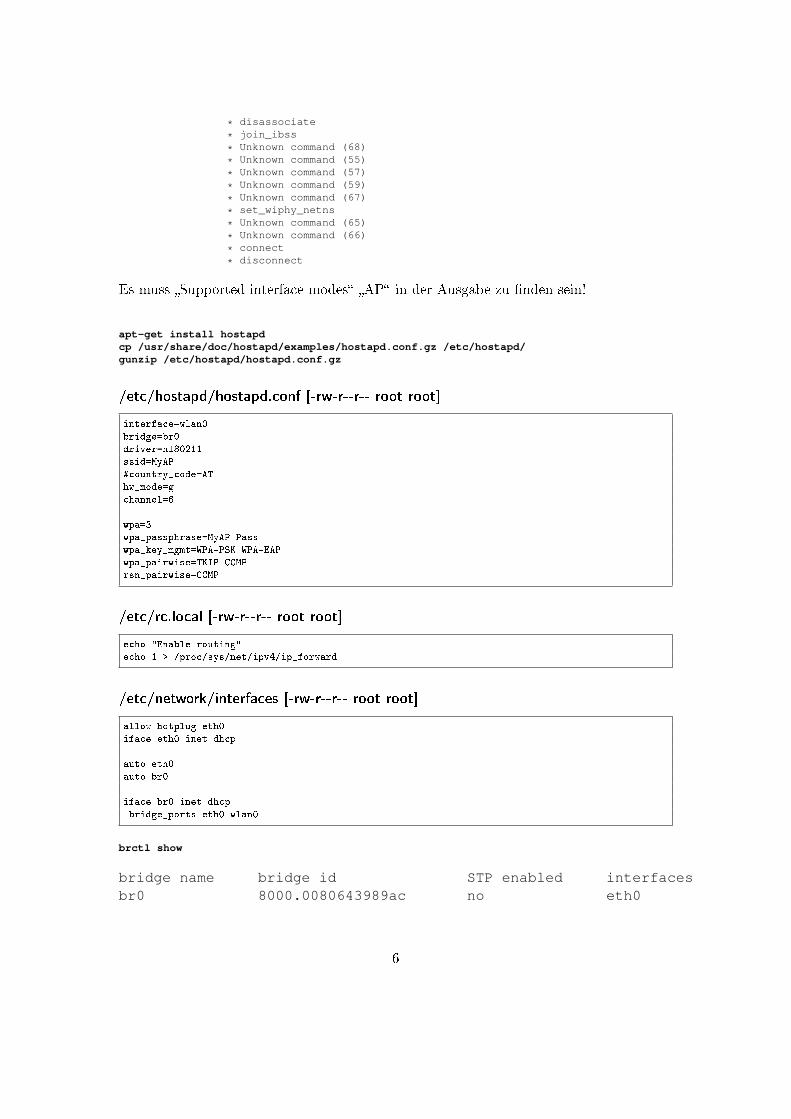
Es muss �Supported interface modes� �AP� in der Ausgabe zu �nden sein!
apt-get install hostapdcp /usr/share/doc/hostapd/examples/hostapd.conf.gz /etc/hostapd/gunzip /etc/hostapd/hostapd.conf.gz
/etc/hostapd/hostapd.conf [-rw-r--r-- root root]
interface=wlan0
bridge=br0
driver=nl80211
ssid=MyAP
#country_code=AT
hw_mode=g
channel=6
wpa=3
wpa_passphrase=MyAP-Pass
wpa_key_mgmt=WPA-PSK WPA-EAP
wpa_pairwise=TKIP CCMP
rsn_pairwise=CCMP
/etc/rc.local [-rw-r--r-- root root]
echo "Enable routing"
echo 1 > /proc/sys/net/ipv4/ip_forward
/etc/network/interfaces [-rw-r--r-- root root]
allow-hotplug eth0
iface eth0 inet dhcp
auto eth0
auto br0
iface br0 inet dhcp
bridge_ports eth0 wlan0
brctl show
bridge name bridge id STP enabled interfacesbr0 8000.0080643989ac no eth0
6
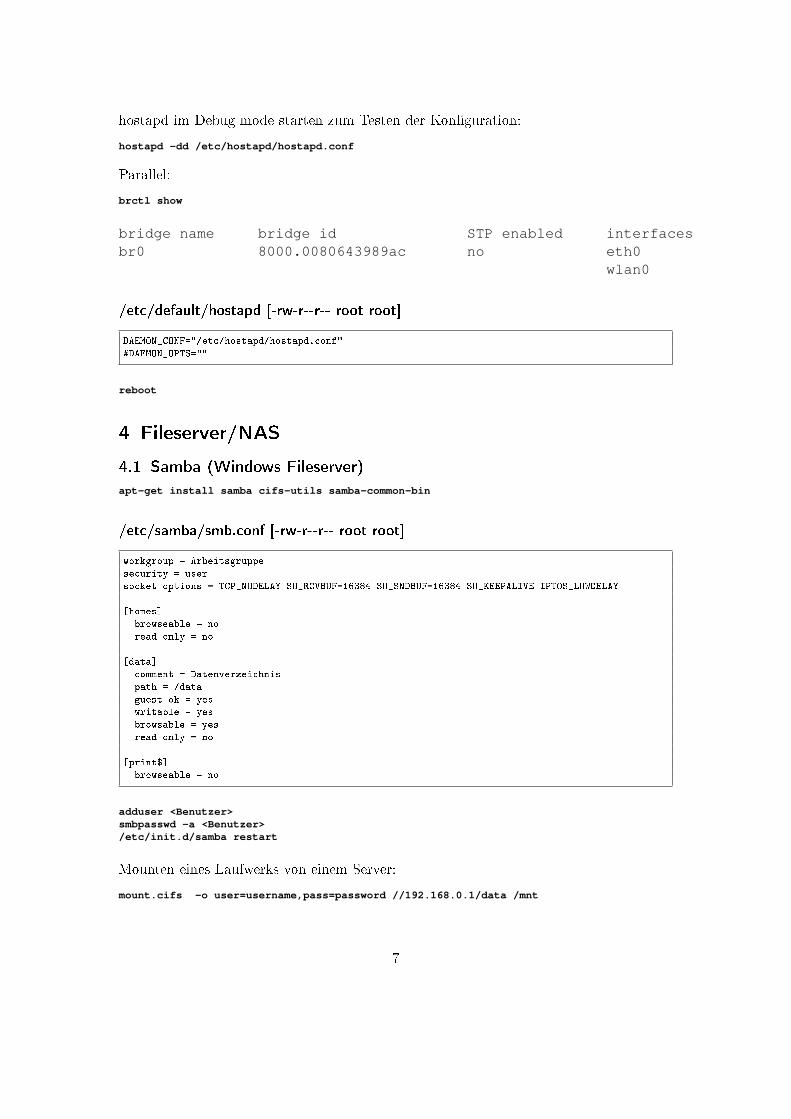
hostapd im Debug mode starten zum Testen der Kon�guration:
hostapd -dd /etc/hostapd/hostapd.conf
Parallel:
brctl show
bridge name bridge id STP enabled interfacesbr0 8000.0080643989ac no eth0
wlan0
/etc/default/hostapd [-rw-r--r-- root root]
DAEMON_CONF="/etc/hostapd/hostapd.conf"
#DAEMON_OPTS=""
reboot
4 Fileserver/NAS
4.1 Samba (Windows Fileserver)apt-get install samba cifs-utils samba-common-bin
/etc/samba/smb.conf [-rw-r--r-- root root]
workgroup = Arbeitsgruppe
security = user
socket options = TCP_NODELAY SO_RCVBUF=16384 SO_SNDBUF=16384 SO_KEEPALIVE IPTOS_LOWDELAY
[homes]
browseable = no
read only = no
[data]
comment = Datenverzeichnis
path = /data
guest ok = yes
writable = yes
browsable = yes
read only = no
[print$]
browseable = no
adduser <Benutzer>smbpasswd -a <Benutzer>/etc/init.d/samba restart
Mounten eines Laufwerks von einem Server:
mount.cifs -o user=username,pass=password //192.168.0.1/data /mnt
7
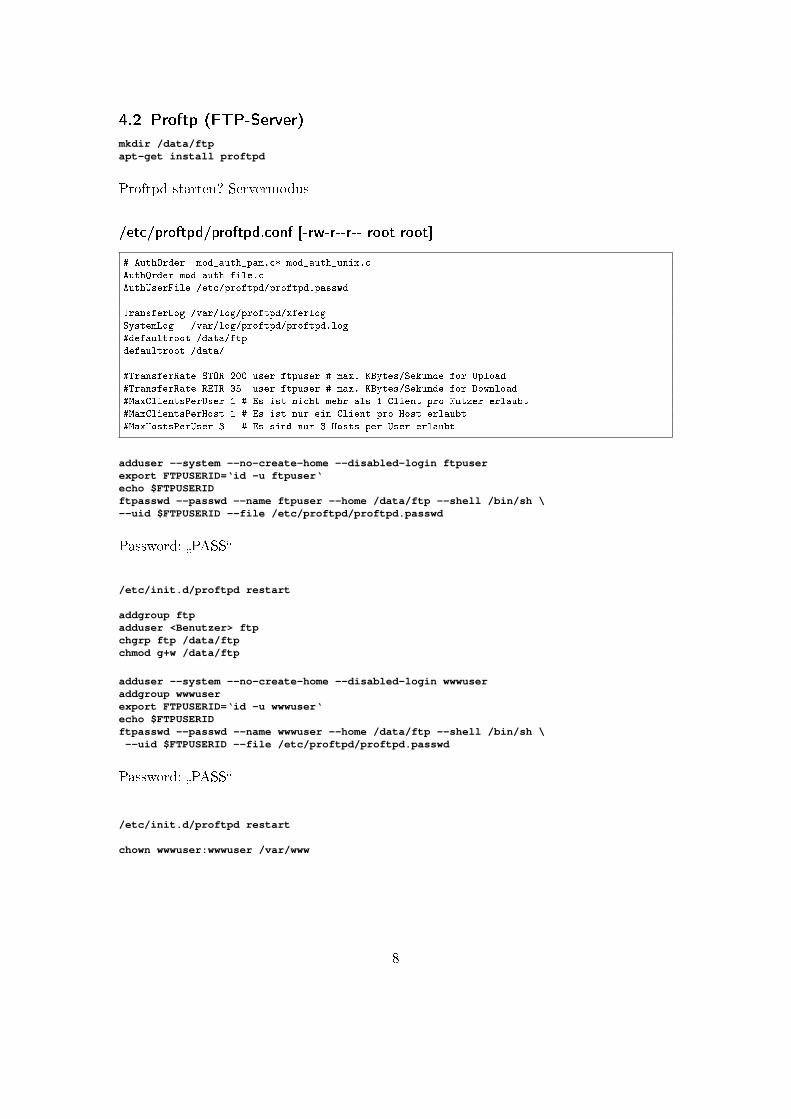
4.2 Proftp (FTP-Server)mkdir /data/ftpapt-get install proftpd
Proftpd starten? Servermodus
/etc/proftpd/proftpd.conf [-rw-r--r-- root root]
# AuthOrder mod_auth_pam.c* mod_auth_unix.c
AuthOrder mod_auth_file.c
AuthUserFile /etc/proftpd/proftpd.passwd
TransferLog /var/log/proftpd/xferlog
SystemLog /var/log/proftpd/proftpd.log
#defaultroot /data/ftp
defaultroot /data/
#TransferRate STOR 200 user ftpuser # max. KBytes/Sekunde for Upload
#TransferRate RETR 35 user ftpuser # max. KBytes/Sekunde for Download
#MaxClientsPerUser 1 # Es ist nicht mehr als 1 Client pro Nutzer erlaubt
#MaxClientsPerHost 1 # Es ist nur ein Client pro Host erlaubt
#MaxHostsPerUser 3 # Es sind nur 3 Hosts per User erlaubt
adduser --system --no-create-home --disabled-login ftpuserexport FTPUSERID=‘id -u ftpuser‘echo $FTPUSERIDftpasswd --passwd --name ftpuser --home /data/ftp --shell /bin/sh \--uid $FTPUSERID --file /etc/proftpd/proftpd.passwd
Password: �PASS�
/etc/init.d/proftpd restart
addgroup ftpadduser <Benutzer> ftpchgrp ftp /data/ftpchmod g+w /data/ftp
adduser --system --no-create-home --disabled-login wwwuseraddgroup wwwuserexport FTPUSERID=‘id -u wwwuser‘echo $FTPUSERIDftpasswd --passwd --name wwwuser --home /data/ftp --shell /bin/sh \--uid $FTPUSERID --file /etc/proftpd/proftpd.passwd
Password: �PASS�
/etc/init.d/proftpd restart
chown wwwuser:wwwuser /var/www
8
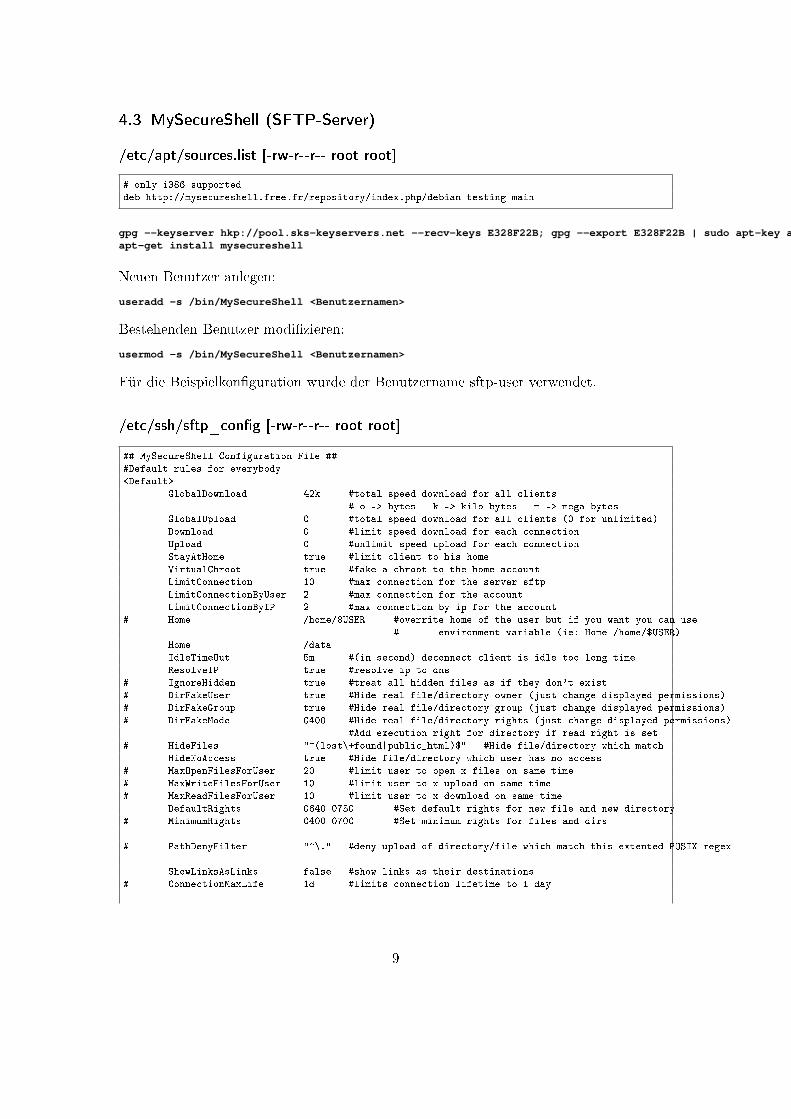
4.3 MySecureShell (SFTP-Server)
/etc/apt/sources.list [-rw-r--r-- root root]
# only i386 supported
deb http://mysecureshell.free.fr/repository/index.php/debian testing main
gpg --keyserver hkp://pool.sks-keyservers.net --recv-keys E328F22B; gpg --export E328F22B | sudo apt-key add -apt-get install mysecureshell
Neuen Benutzer anlegen:
useradd -s /bin/MySecureShell <Benutzernamen>
Bestehenden Benutzer modi�zieren:
usermod -s /bin/MySecureShell <Benutzernamen>
Für die Beispielkon�guration wurde der Benutzername sftp-user verwendet.
/etc/ssh/sftp_con�g [-rw-r--r-- root root]
## MySecureShell Configuration File ##
#Default rules for everybody
<Default>
GlobalDownload 42k #total speed download for all clients
# o -> bytes k -> kilo bytes m -> mega bytes
GlobalUpload 0 #total speed download for all clients (0 for unlimited)
Download 0 #limit speed download for each connection
Upload 0 #unlimit speed upload for each connection
StayAtHome true #limit client to his home
VirtualChroot true #fake a chroot to the home account
LimitConnection 10 #max connection for the server sftp
LimitConnectionByUser 2 #max connection for the account
LimitConnectionByIP 2 #max connection by ip for the account
# Home /home/$USER #overrite home of the user but if you want you can use
# environment variable (ie: Home /home/$USER)
Home /data
IdleTimeOut 5m #(in second) deconnect client is idle too long time
ResolveIP true #resolve ip to dns
# IgnoreHidden true #treat all hidden files as if they don't exist
# DirFakeUser true #Hide real file/directory owner (just change displayed permissions)
# DirFakeGroup true #Hide real file/directory group (just change displayed permissions)
# DirFakeMode 0400 #Hide real file/directory rights (just change displayed permissions)
#Add execution right for directory if read right is set
# HideFiles "^(lost\+found|public_html)$" #Hide file/directory which match
HideNoAccess true #Hide file/directory which user has no access
# MaxOpenFilesForUser 20 #limit user to open x files on same time
# MaxWriteFilesForUser 10 #limit user to x upload on same time
# MaxReadFilesForUser 10 #limit user to x download on same time
DefaultRights 0640 0750 #Set default rights for new file and new directory
# MinimumRights 0400 0700 #Set minimum rights for files and dirs
# PathDenyFilter "^\." #deny upload of directory/file which match this extented POSIX regex
ShowLinksAsLinks false #show links as their destinations
# ConnectionMaxLife 1d #limits connection lifetime to 1 day
9
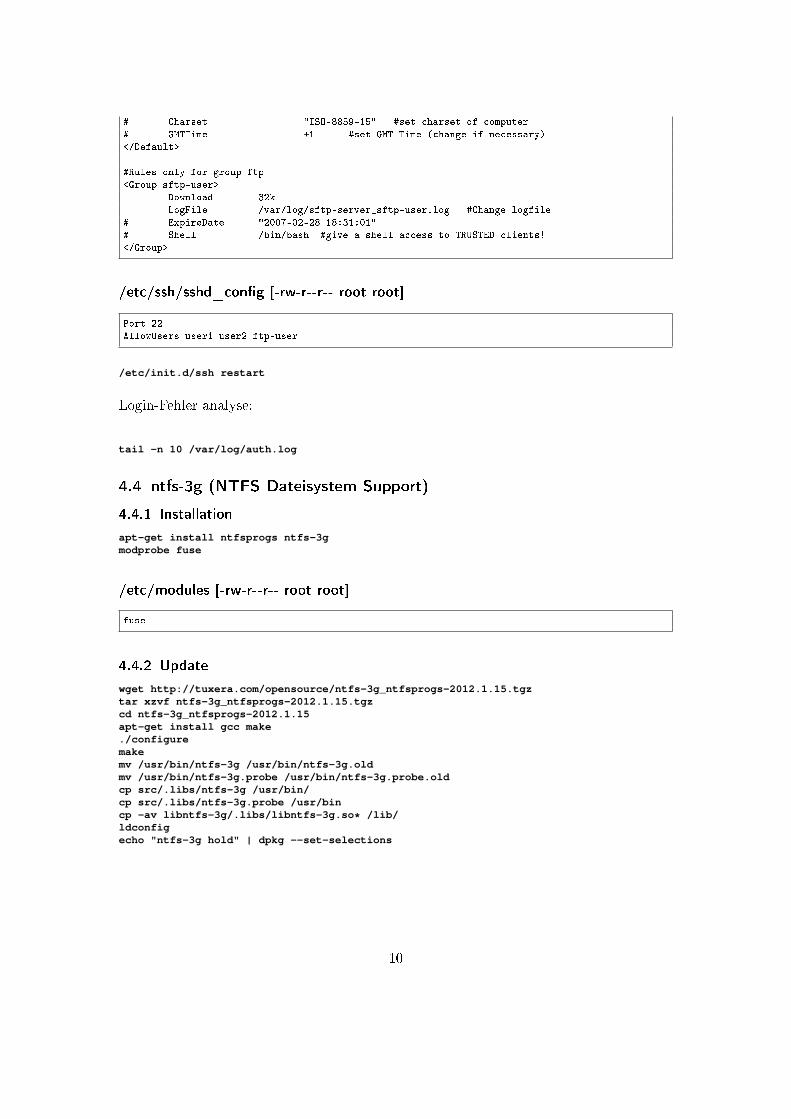
# Charset "ISO-8859-15" #set charset of computer
# GMTTime +1 #set GMT Time (change if necessary)
</Default>
#Rules only for group ftp
<Group sftp-user>
Download 32k
LogFile /var/log/sftp-server_sftp-user.log #Change logfile
# ExpireDate "2007-02-28 18:31:01"
# Shell /bin/bash #give a shell access to TRUSTED clients!
</Group>
/etc/ssh/sshd_con�g [-rw-r--r-- root root]
Port 22
AllowUsers user1 user2 ftp-user
/etc/init.d/ssh restart
Login-Fehler analyse:
tail -n 10 /var/log/auth.log
4.4 ntfs-3g (NTFS Dateisystem Support)
4.4.1 Installation
apt-get install ntfsprogs ntfs-3gmodprobe fuse
/etc/modules [-rw-r--r-- root root]
fuse
4.4.2 Update
wget http://tuxera.com/opensource/ntfs-3g_ntfsprogs-2012.1.15.tgztar xzvf ntfs-3g_ntfsprogs-2012.1.15.tgzcd ntfs-3g_ntfsprogs-2012.1.15apt-get install gcc make./configuremakemv /usr/bin/ntfs-3g /usr/bin/ntfs-3g.oldmv /usr/bin/ntfs-3g.probe /usr/bin/ntfs-3g.probe.oldcp src/.libs/ntfs-3g /usr/bin/cp src/.libs/ntfs-3g.probe /usr/bincp -av libntfs-3g/.libs/libntfs-3g.so* /lib/ldconfigecho "ntfs-3g hold" | dpkg --set-selections
10
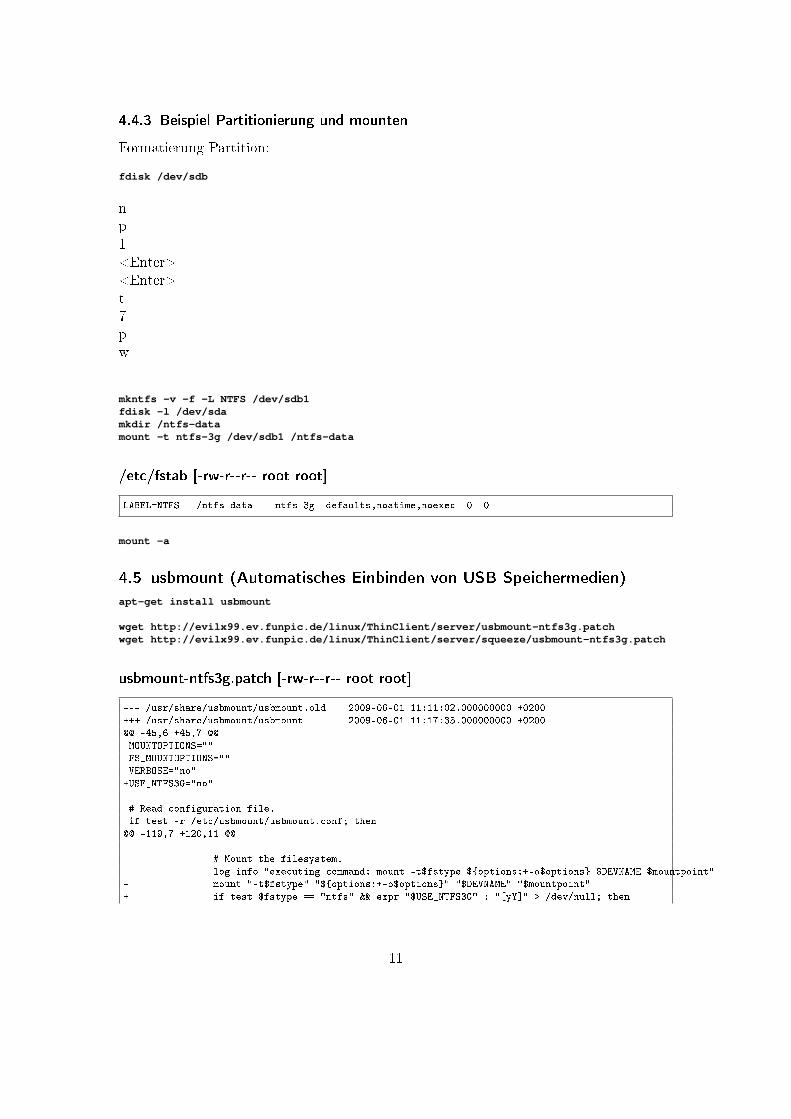
4.4.3 Beispiel Partitionierung und mounten
Formatierung Partition:
fdisk /dev/sdb
np1<Enter><Enter>t7pw
mkntfs -v -f -L NTFS /dev/sdb1fdisk -l /dev/sdamkdir /ntfs-datamount -t ntfs-3g /dev/sdb1 /ntfs-data
/etc/fstab [-rw-r--r-- root root]
LABEL=NTFS /ntfs-data ntfs-3g defaults,noatime,noexec 0 0
mount -a
4.5 usbmount (Automatisches Einbinden von USB Speichermedien)apt-get install usbmount
wget http://evilx99.ev.funpic.de/linux/ThinClient/server/usbmount-ntfs3g.patchwget http://evilx99.ev.funpic.de/linux/ThinClient/server/squeeze/usbmount-ntfs3g.patch
usbmount-ntfs3g.patch [-rw-r--r-- root root]
--- /usr/share/usbmount/usbmount.old 2009-06-01 11:11:02.000000000 +0200
+++ /usr/share/usbmount/usbmount 2009-06-01 11:17:35.000000000 +0200
@@ -45,6 +45,7 @@
MOUNTOPTIONS=""
FS_MOUNTOPTIONS=""
VERBOSE="no"
+USE_NTFS3G="no"
# Read configuration file.
if test -r /etc/usbmount/usbmount.conf; then
@@ -119,7 +120,11 @@
# Mount the filesystem.
log info "executing command: mount -t$fstype ${options:+-o$options} $DEVNAME $mountpoint"
- mount "-t$fstype" "${options:+-o$options}" "$DEVNAME" "$mountpoint"
+ if test $fstype == "ntfs" && expr "$USE_NTFS3G" : "[yY]" > /dev/null; then
11
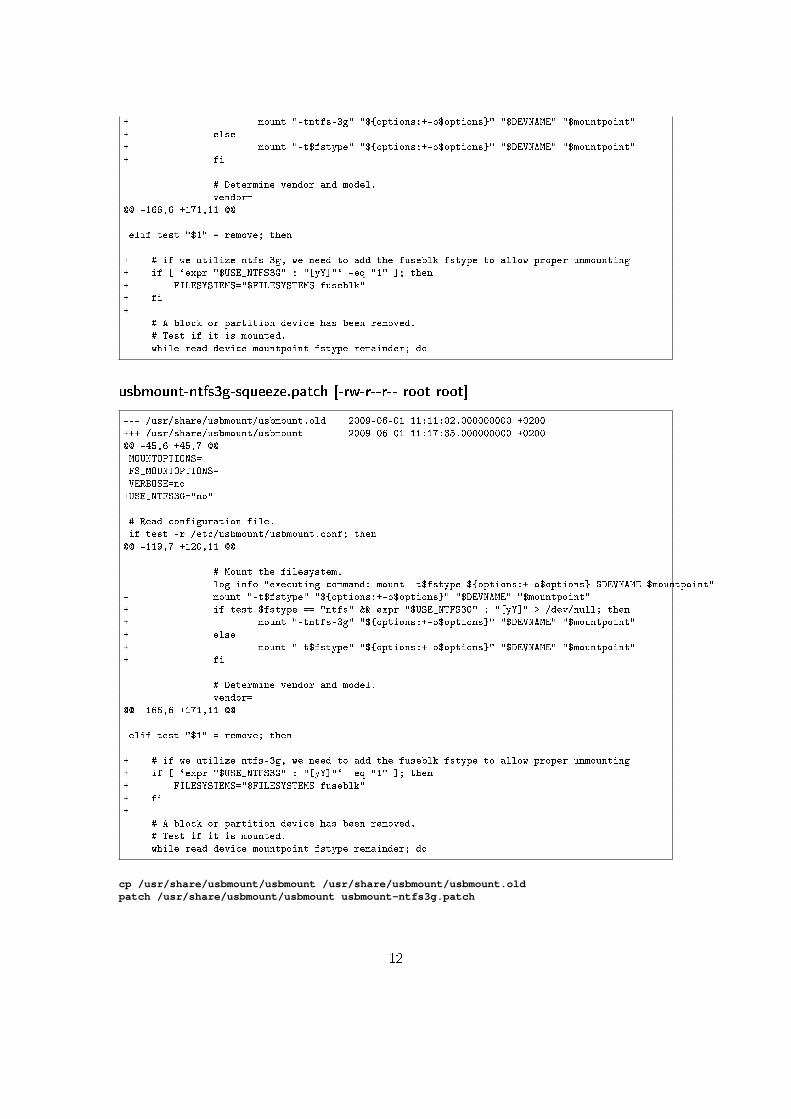
+ mount "-tntfs-3g" "${options:+-o$options}" "$DEVNAME" "$mountpoint"
+ else
+ mount "-t$fstype" "${options:+-o$options}" "$DEVNAME" "$mountpoint"
+ fi
# Determine vendor and model.
vendor=
@@ -166,6 +171,11 @@
elif test "$1" = remove; then
+ # if we utilize ntfs-3g, we need to add the fuseblk fstype to allow proper unmounting
+ if [ `expr "$USE_NTFS3G" : "[yY]"` -eq "1" ]; then
+ FILESYSTEMS="$FILESYSTEMS fuseblk"
+ fi
+
# A block or partition device has been removed.
# Test if it is mounted.
while read device mountpoint fstype remainder; do
usbmount-ntfs3g-squeeze.patch [-rw-r--r-- root root]
--- /usr/share/usbmount/usbmount.old 2009-06-01 11:11:02.000000000 +0200
+++ /usr/share/usbmount/usbmount 2009-06-01 11:17:35.000000000 +0200
@@ -45,6 +45,7 @@
MOUNTOPTIONS=
FS_MOUNTOPTIONS=
VERBOSE=no
+USE_NTFS3G="no"
# Read configuration file.
if test -r /etc/usbmount/usbmount.conf; then
@@ -119,7 +120,11 @@
# Mount the filesystem.
log info "executing command: mount -t$fstype ${options:+-o$options} $DEVNAME $mountpoint"
- mount "-t$fstype" "${options:+-o$options}" "$DEVNAME" "$mountpoint"
+ if test $fstype == "ntfs" && expr "$USE_NTFS3G" : "[yY]" > /dev/null; then
+ mount "-tntfs-3g" "${options:+-o$options}" "$DEVNAME" "$mountpoint"
+ else
+ mount "-t$fstype" "${options:+-o$options}" "$DEVNAME" "$mountpoint"
+ fi
# Determine vendor and model.
vendor=
@@ -166,6 +171,11 @@
elif test "$1" = remove; then
+ # if we utilize ntfs-3g, we need to add the fuseblk fstype to allow proper unmounting
+ if [ `expr "$USE_NTFS3G" : "[yY]"` -eq "1" ]; then
+ FILESYSTEMS="$FILESYSTEMS fuseblk"
+ fi
+
# A block or partition device has been removed.
# Test if it is mounted.
while read device mountpoint fstype remainder; do
cp /usr/share/usbmount/usbmount /usr/share/usbmount/usbmount.oldpatch /usr/share/usbmount/usbmount usbmount-ntfs3g.patch
12
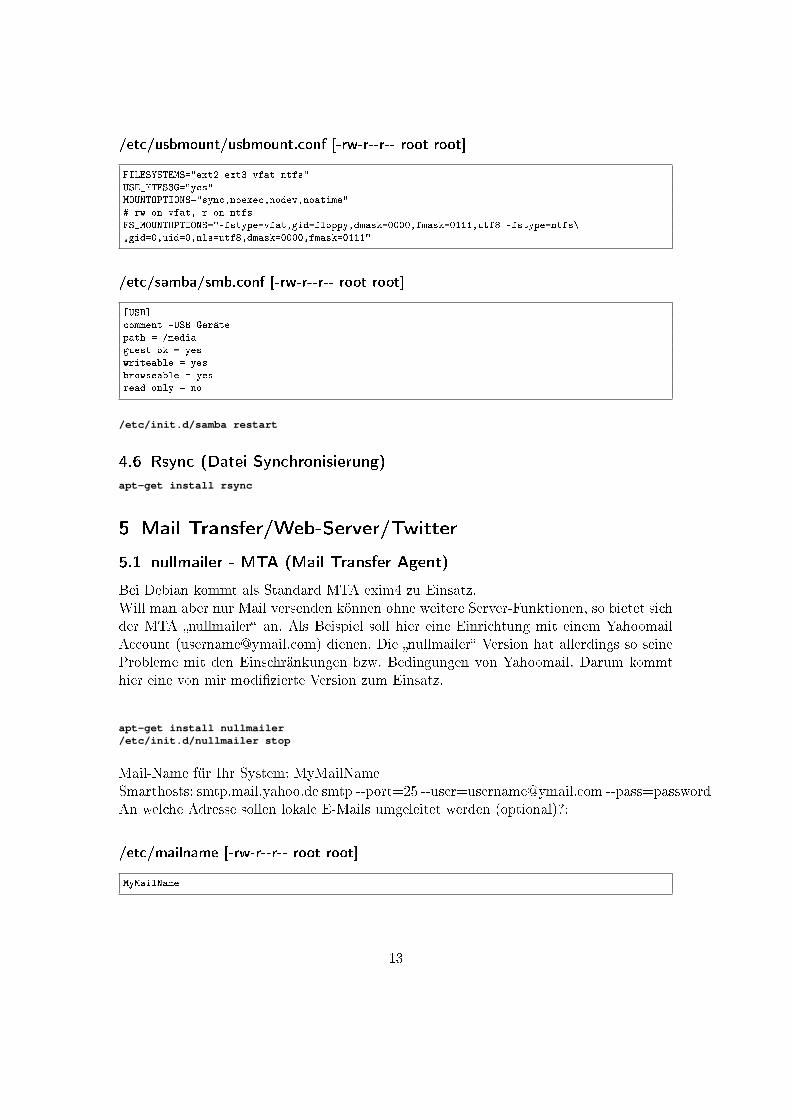
/etc/usbmount/usbmount.conf [-rw-r--r-- root root]
FILESYSTEMS="ext2 ext3 vfat ntfs"
USE_NTFS3G="yes"
MOUNTOPTIONS="sync,noexec,nodev,noatime"
# rw on vfat, r on ntfs
FS_MOUNTOPTIONS="-fstype=vfat,gid=floppy,dmask=0000,fmask=0111,utf8 -fstype=ntfs\
,gid=0,uid=0,nls=utf8,dmask=0000,fmask=0111"
/etc/samba/smb.conf [-rw-r--r-- root root]
[USB]
comment =USB Geräte
path = /media
guest ok = yes
writeable = yes
browseable = yes
read only = no
/etc/init.d/samba restart
4.6 Rsync (Datei Synchronisierung)apt-get install rsync
5 Mail Transfer/Web-Server/Twitter
5.1 nullmailer - MTA (Mail Transfer Agent)
Bei Debian kommt als Standard MTA exim4 zu Einsatz.Will man aber nur Mail versenden können ohne weitere Server-Funktionen, so bietet sichder MTA �nullmailer� an. Als Beispiel soll hier eine Einrichtung mit einem YahoomailAccount ([email protected]) dienen. Die �nullmailer� Version hat allerdings so seineProbleme mit den Einschränkungen bzw. Bedingungen von Yahoomail. Darum kommthier eine von mir modi�zierte Version zum Einsatz.
apt-get install nullmailer/etc/init.d/nullmailer stop
Mail-Name für Ihr System: MyMailNameSmarthosts: smtp.mail.yahoo.de smtp --port=25 [email protected] --pass=passwordAn welche Adresse sollen lokale E-Mails umgeleitet werden (optional)?:
/etc/mailname [-rw-r--r-- root root]
MyMailName
13
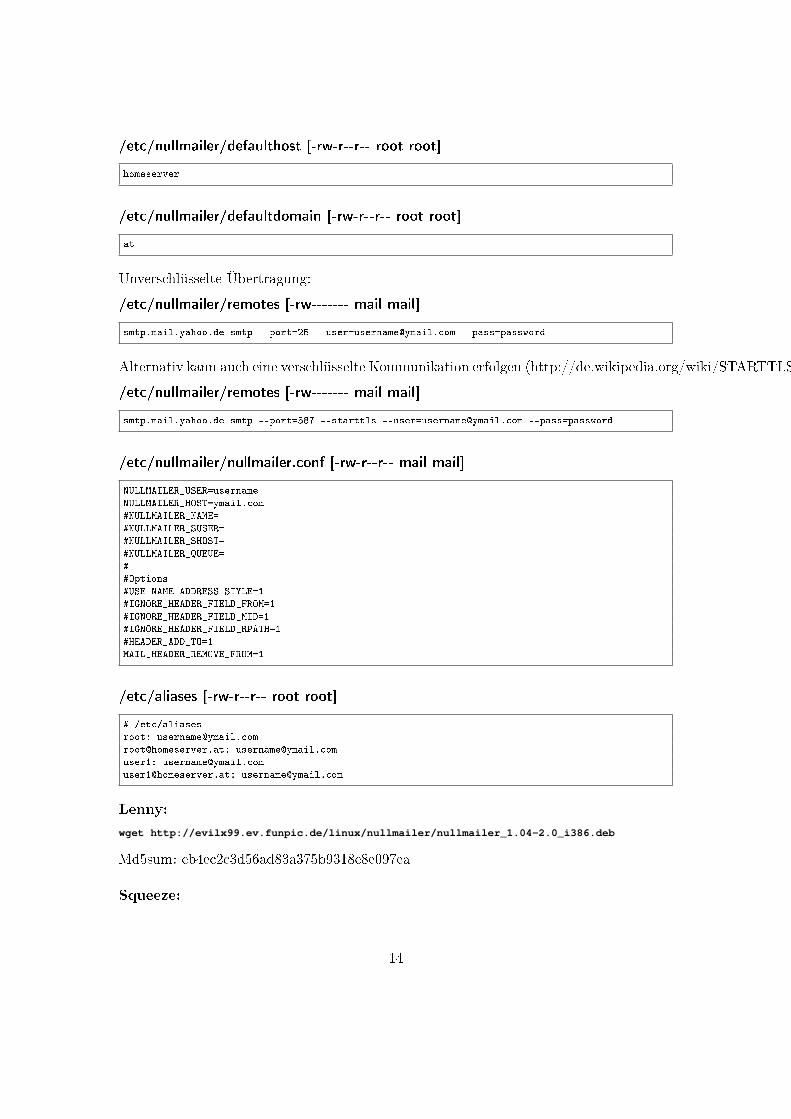
/etc/nullmailer/defaulthost [-rw-r--r-- root root]
homeserver
/etc/nullmailer/defaultdomain [-rw-r--r-- root root]
at
Unverschlüsselte Übertragung:
/etc/nullmailer/remotes [-rw------- mail mail]
smtp.mail.yahoo.de smtp --port=25 [email protected] --pass=password
Alternativ kann auch eine verschlüsselte Kommunikation erfolgen (http://de.wikipedia.org/wiki/STARTTLS):
/etc/nullmailer/remotes [-rw------- mail mail]
smtp.mail.yahoo.de smtp --port=587 --starttls [email protected] --pass=password
/etc/nullmailer/nullmailer.conf [-rw-r--r-- mail mail]
NULLMAILER_USER=username
NULLMAILER_HOST=ymail.com
#NULLMAILER_NAME=
#NULLMAILER_SUSER=
#NULLMAILER_SHOST=
#NULLMAILER_QUEUE=
#
#Options
#USE_NAME_ADDRESS_STYLE=1
#IGNORE_HEADER_FIELD_FROM=1
#IGNORE_HEADER_FIELD_MID=1
#IGNORE_HEADER_FIELD_RPATH=1
#HEADER_ADD_TO=1
MAIL_HEADER_REMOVE_FROM=1
/etc/aliases [-rw-r--r-- root root]
# /etc/aliases
root: [email protected]
[email protected]: [email protected]
user1: [email protected]
[email protected]: [email protected]
Lenny:
wget http://evilx99.ev.funpic.de/linux/nullmailer/nullmailer_1.04-2.0_i386.deb
Md5sum: eb4ec2c3d56ad83a375b9318e8e097ea
Squeeze:
14
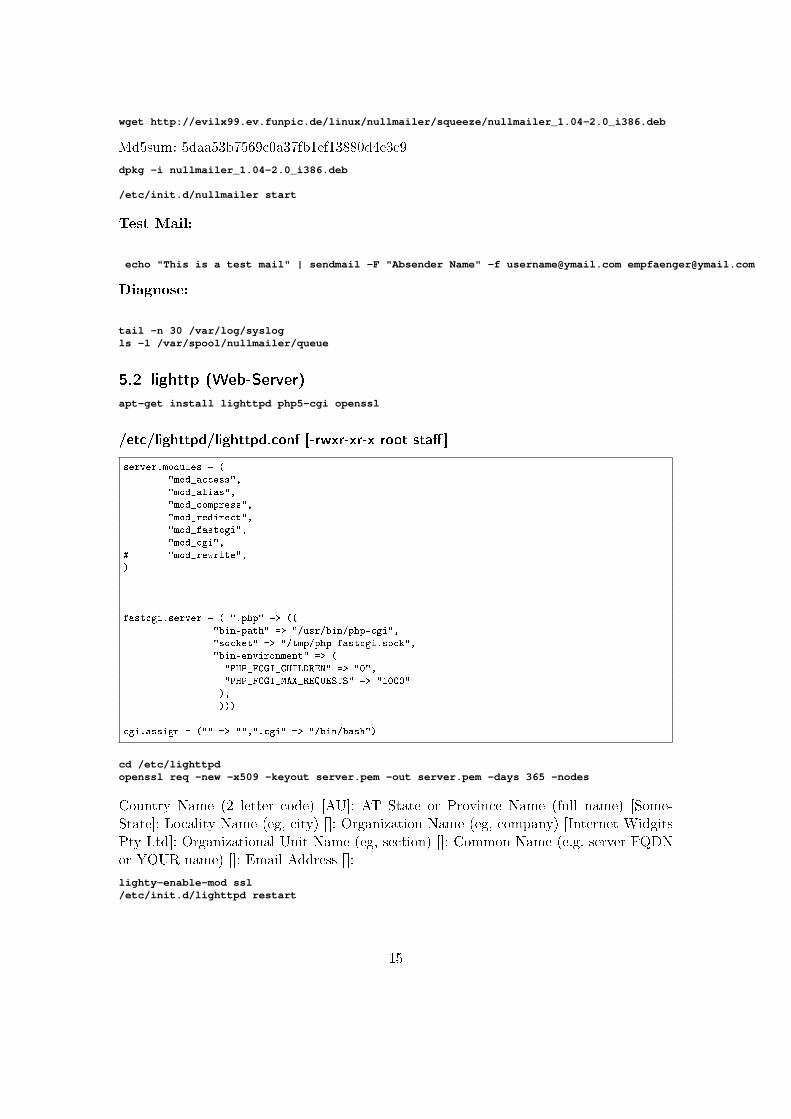
wget http://evilx99.ev.funpic.de/linux/nullmailer/squeeze/nullmailer_1.04-2.0_i386.deb
Md5sum: 5daa53b7569c0a37fb1ef13880d4e3c9
dpkg -i nullmailer_1.04-2.0_i386.deb
/etc/init.d/nullmailer start
Test Mail:
echo "This is a test mail" | sendmail -F "Absender Name" -f [email protected] [email protected]
Diagnose:
tail -n 30 /var/log/syslogls -l /var/spool/nullmailer/queue
5.2 lighttp (Web-Server)apt-get install lighttpd php5-cgi openssl
/etc/lighttpd/lighttpd.conf [-rwxr-xr-x root sta�]
server.modules = (
"mod_access",
"mod_alias",
"mod_compress",
"mod_redirect",
"mod_fastcgi",
"mod_cgi",
# "mod_rewrite",
)
fastcgi.server = ( ".php" => ((
"bin-path" => "/usr/bin/php-cgi",
"socket" => "/tmp/php-fastcgi.sock",
"bin-environment" => (
"PHP_FCGI_CHILDREN" => "0",
"PHP_FCGI_MAX_REQUESTS" => "1000"
),
)))
cgi.assign = ("" => "",".cgi" => "/bin/bash")
cd /etc/lighttpdopenssl req -new -x509 -keyout server.pem -out server.pem -days 365 -nodes
Country Name (2 letter code) [AU]: AT State or Province Name (full name) [Some-State]: Locality Name (eg, city) []: Organization Name (eg, company) [Internet WidgitsPty Ltd]: Organizational Unit Name (eg, section) []: Common Name (e.g. server FQDNor YOUR name) []: Email Address []:
lighty-enable-mod ssl/etc/init.d/lighttpd restart
15
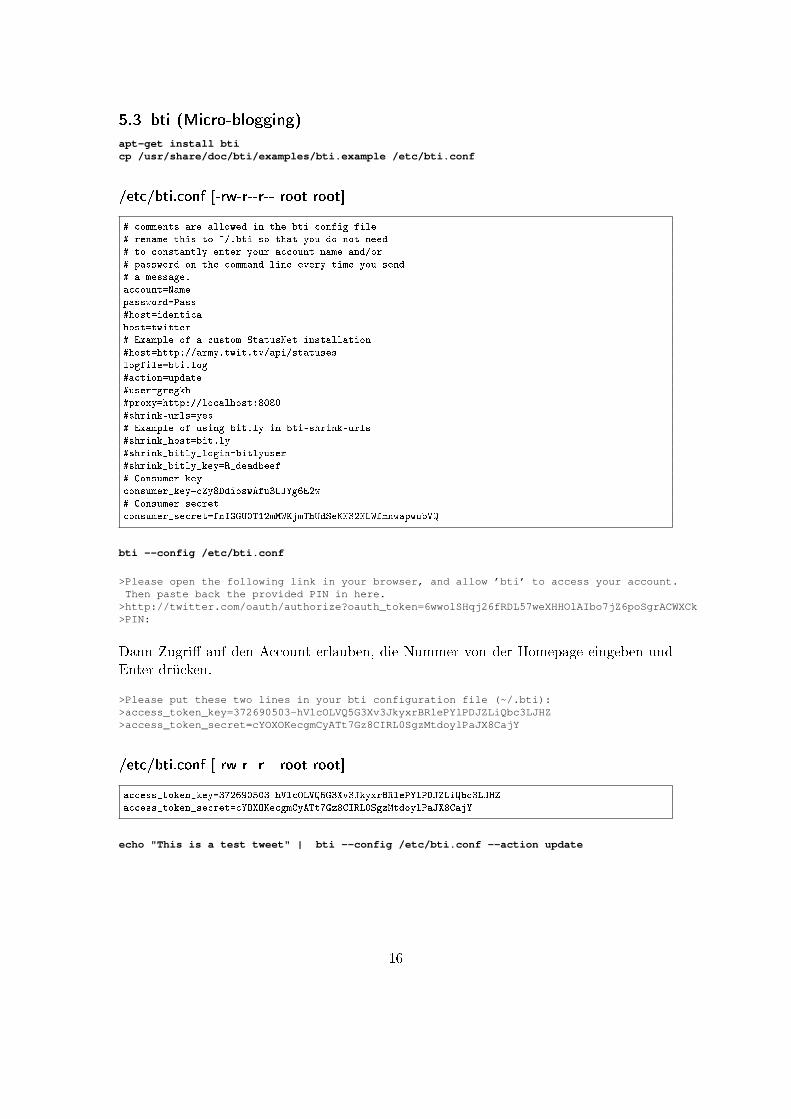
5.3 bti (Micro-blogging)apt-get install bticp /usr/share/doc/bti/examples/bti.example /etc/bti.conf
/etc/bti.conf [-rw-r--r-- root root]
# comments are allowed in the bti config file
# rename this to ~/.bti so that you do not need
# to constantly enter your account name and/or
# password on the command line every time you send
# a message.
account=Name
password=Pass
#host=identica
host=twitter
# Example of a custom StatusNet installation
#host=http://army.twit.tv/api/statuses
logfile=bti.log
#action=update
#user=gregkh
#proxy=http://localhost:8080
#shrink-urls=yes
# Example of using bit.ly in bti-shrink-urls
#shrink_host=bit.ly
#shrink_bitly_login=bitlyuser
#shrink_bitly_key=R_deadbeef
# Consumer key
consumer_key=cZy8DdioswAfu3LJYg6E2w
# Consumer secret
consumer_secret=fnIGGU0T12mMWKjmThUdSeKN32NLWfmnwapwubVQ
bti --config /etc/bti.conf
>Please open the following link in your browser, and allow ’bti’ to access your account.Then paste back the provided PIN in here.>http://twitter.com/oauth/authorize?oauth_token=6wwolSHqj26fRDL57weXHHOlAIbo7jZ6poSgrACWXCk>PIN:
Dann Zugri� auf den Account erlauben, die Nummer von der Homepage eingeben undEnter drücken.
>Please put these two lines in your bti configuration file (~/.bti):>access_token_key=372690503-hVlcOLVQ5G3Xv3JkyxrBRlePYlPDJZLiQbc3LJHZ>access_token_secret=cYOXOKecgmCyATt7Gz8CIRL0SgzMtdoylPaJX8CajY
/etc/bti.conf [-rw-r--r-- root root]
access_token_key=372690503-hVlcOLVQ5G3Xv3JkyxrBRlePYlPDJZLiQbc3LJHZ
access_token_secret=cYOXOKecgmCyATt7Gz8CIRL0SgzMtdoylPaJX8CajY
echo "This is a test tweet" | bti --config /etc/bti.conf --action update
16
6 Download-Server
6.1 MLDonkey (P2P Client)
6.1.1 Installation
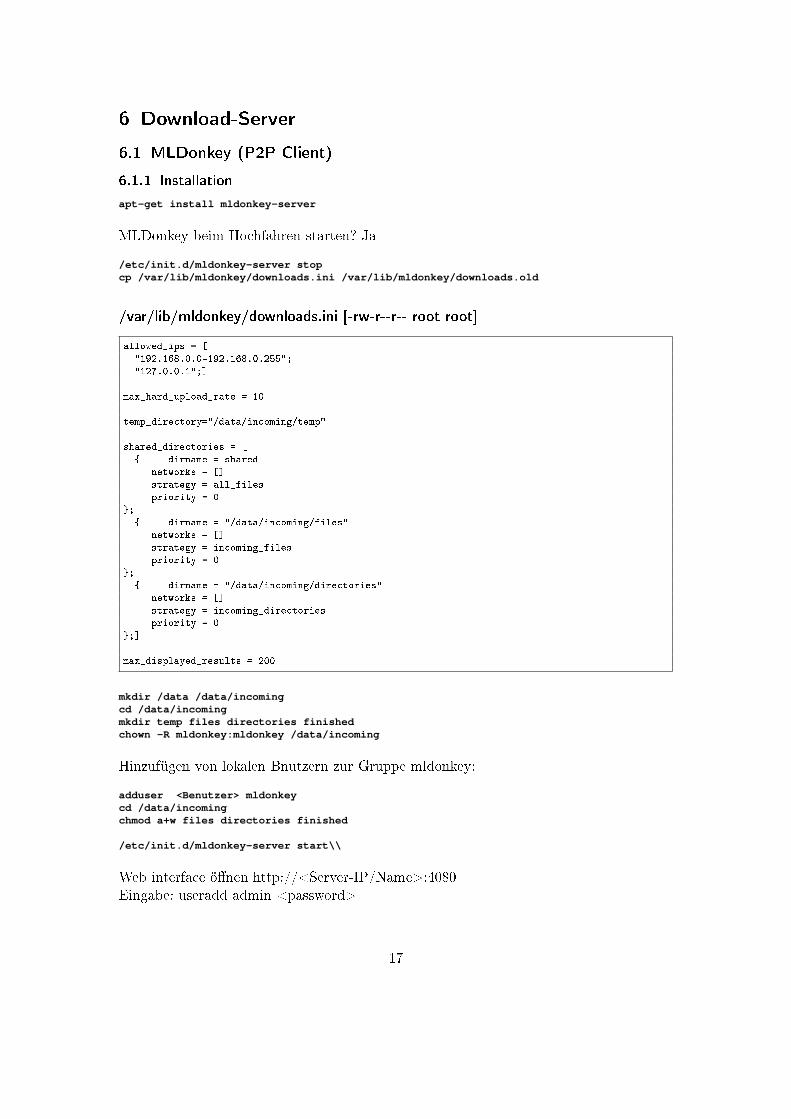
apt-get install mldonkey-server
MLDonkey beim Hochfahren starten? Ja
/etc/init.d/mldonkey-server stopcp /var/lib/mldonkey/downloads.ini /var/lib/mldonkey/downloads.old
/var/lib/mldonkey/downloads.ini [-rw-r--r-- root root]
allowed_ips = [
"192.168.0.0-192.168.0.255";
"127.0.0.1";]
max_hard_upload_rate = 10
temp_directory="/data/incoming/temp"
shared_directories = [
{ dirname = shared
networks = []
strategy = all_files
priority = 0
};
{ dirname = "/data/incoming/files"
networks = []
strategy = incoming_files
priority = 0
};
{ dirname = "/data/incoming/directories"
networks = []
strategy = incoming_directories
priority = 0
};]
max_displayed_results = 200
mkdir /data /data/incomingcd /data/incomingmkdir temp files directories finishedchown -R mldonkey:mldonkey /data/incoming
Hinzufügen von lokalen Bnutzern zur Gruppe mldonkey:
adduser <Benutzer> mldonkeycd /data/incomingchmod a+w files directories finished
/etc/init.d/mldonkey-server start\\
Web interface ö�nen http://<Server-IP/Name>:4080Eingabe: useradd admin <password>
17
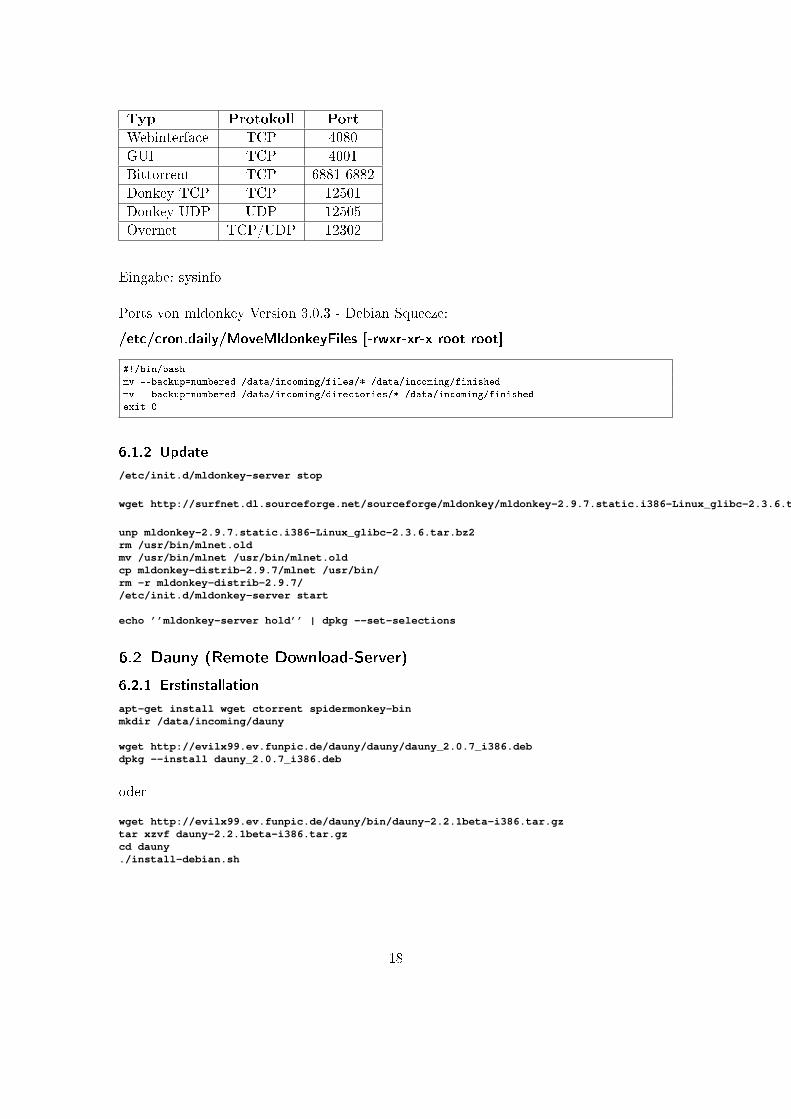
Typ Protokoll Port
Webinterface TCP 4080GUI TCP 4001Bittorrent TCP 6881-6882Donkey TCP TCP 12501Donkey UDP UDP 12505Overnet TCP/UDP 12302
Eingabe: sysinfo
Ports von mldonkey Version 3.0.3 - Debian Squeeze:
/etc/cron.daily/MoveMldonkeyFiles [-rwxr-xr-x root root]
#!/bin/bash
mv --backup=numbered /data/incoming/files/* /data/incoming/finished
mv --backup=numbered /data/incoming/directories/* /data/incoming/finished
exit 0
6.1.2 Update
/etc/init.d/mldonkey-server stop
wget http://surfnet.dl.sourceforge.net/sourceforge/mldonkey/mldonkey-2.9.7.static.i386-Linux_glibc-2.3.6.tar.bz2
unp mldonkey-2.9.7.static.i386-Linux_glibc-2.3.6.tar.bz2rm /usr/bin/mlnet.oldmv /usr/bin/mlnet /usr/bin/mlnet.oldcp mldonkey-distrib-2.9.7/mlnet /usr/bin/rm -r mldonkey-distrib-2.9.7//etc/init.d/mldonkey-server start
echo ’’mldonkey-server hold’’ | dpkg --set-selections
6.2 Dauny (Remote Download-Server)
6.2.1 Erstinstallation
apt-get install wget ctorrent spidermonkey-binmkdir /data/incoming/dauny
wget http://evilx99.ev.funpic.de/dauny/dauny/dauny_2.0.7_i386.debdpkg --install dauny_2.0.7_i386.deb
oder
wget http://evilx99.ev.funpic.de/dauny/bin/dauny-2.2.1beta-i386.tar.gztar xzvf dauny-2.2.1beta-i386.tar.gzcd dauny./install-debian.sh
18
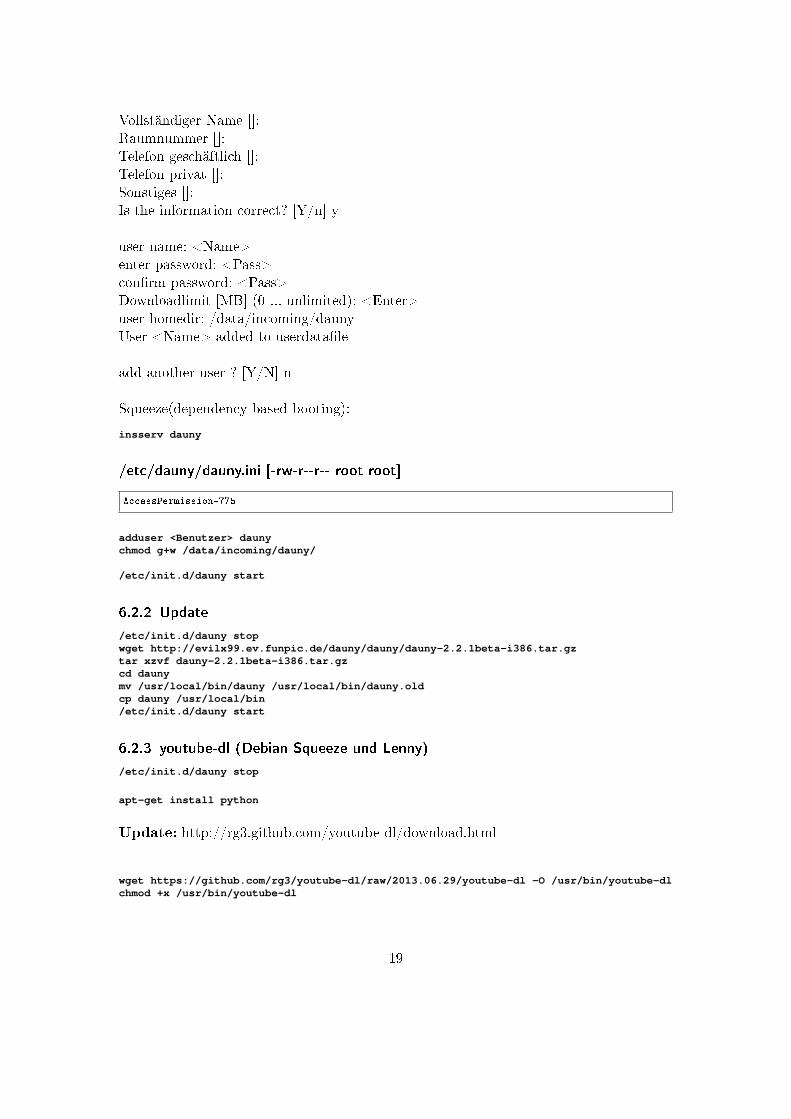
Vollständiger Name []:Raumnummer []:Telefon geschäftlich []:Telefon privat []:Sonstiges []:Is the information correct? [Y/n] y
user name: <Name>enter password: <Pass>con�rm password: <Pass>Downloadlimit [MB] (0 ... unlimited): <Enter>user homedir: /data/incoming/daunyUser <Name> added to userdata�le
add another user ? [Y/N] n
Squeeze(dependency-based booting):
insserv dauny
/etc/dauny/dauny.ini [-rw-r--r-- root root]
AccessPermission=775
adduser <Benutzer> daunychmod g+w /data/incoming/dauny/
/etc/init.d/dauny start
6.2.2 Update
/etc/init.d/dauny stopwget http://evilx99.ev.funpic.de/dauny/dauny/dauny-2.2.1beta-i386.tar.gztar xzvf dauny-2.2.1beta-i386.tar.gzcd daunymv /usr/local/bin/dauny /usr/local/bin/dauny.oldcp dauny /usr/local/bin/etc/init.d/dauny start
6.2.3 youtube-dl (Debian Squeeze und Lenny)
/etc/init.d/dauny stop
apt-get install python
Update: http://rg3.github.com/youtube-dl/download.html
wget https://github.com/rg3/youtube-dl/raw/2013.06.29/youtube-dl -O /usr/bin/youtube-dlchmod +x /usr/bin/youtube-dl
19
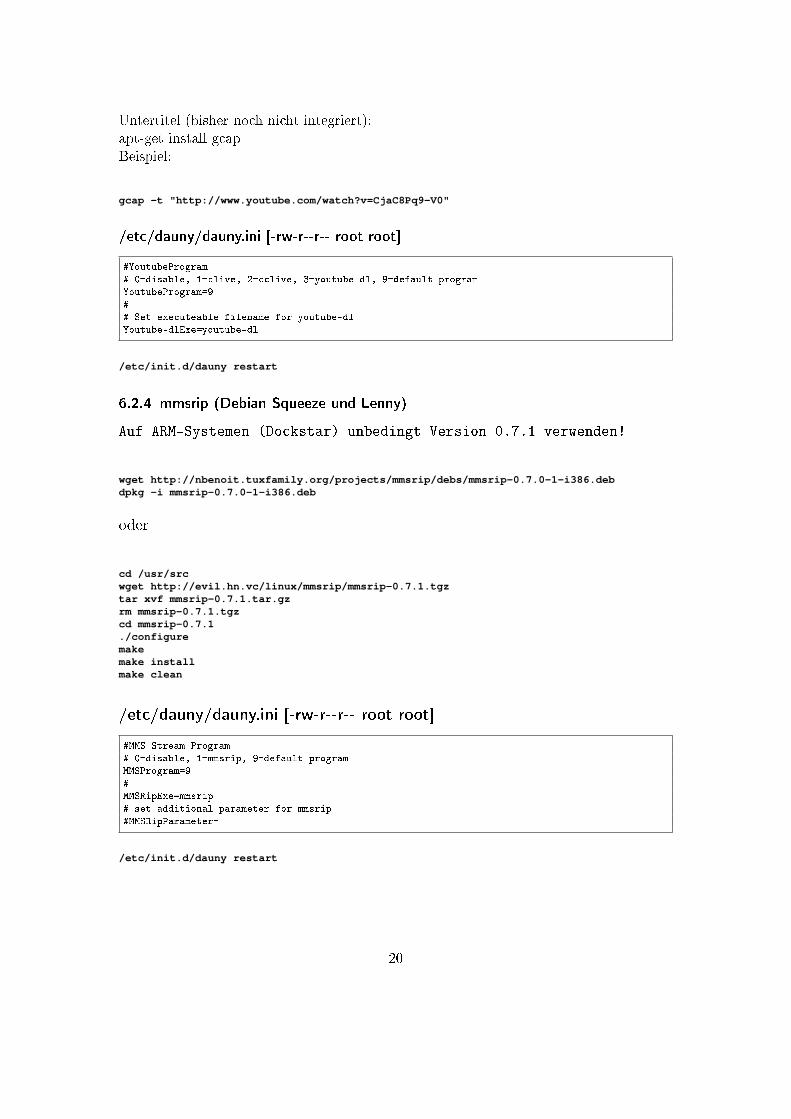
Untertitel (bisher noch nicht integriert):apt-get install gcapBeispiel:
gcap -t "http://www.youtube.com/watch?v=CjaC8Pq9-V0"
/etc/dauny/dauny.ini [-rw-r--r-- root root]
#YoutubeProgram
# 0=disable, 1=clive, 2=cclive, 3=youtube-dl, 9=default program
YoutubeProgram=9
#
# Set executeable filename for youtube-dl
Youtube-dlExe=youtube-dl
/etc/init.d/dauny restart
6.2.4 mmsrip (Debian Squeeze und Lenny)
Auf ARM-Systemen (Dockstar) unbedingt Version 0.7.1 verwenden!
wget http://nbenoit.tuxfamily.org/projects/mmsrip/debs/mmsrip-0.7.0-1-i386.debdpkg -i mmsrip-0.7.0-1-i386.deb
oder
cd /usr/srcwget http://evil.hn.vc/linux/mmsrip/mmsrip-0.7.1.tgztar xvf mmsrip-0.7.1.tar.gzrm mmsrip-0.7.1.tgzcd mmsrip-0.7.1./configuremakemake installmake clean
/etc/dauny/dauny.ini [-rw-r--r-- root root]
#MMS Stream Program
# 0=disable, 1=mmsrip, 9=default program
MMSProgram=9
#
MMSRipExe=mmsrip
# set additional parameter for mmsrip
#MMSRipParameter=
/etc/init.d/dauny restart
20
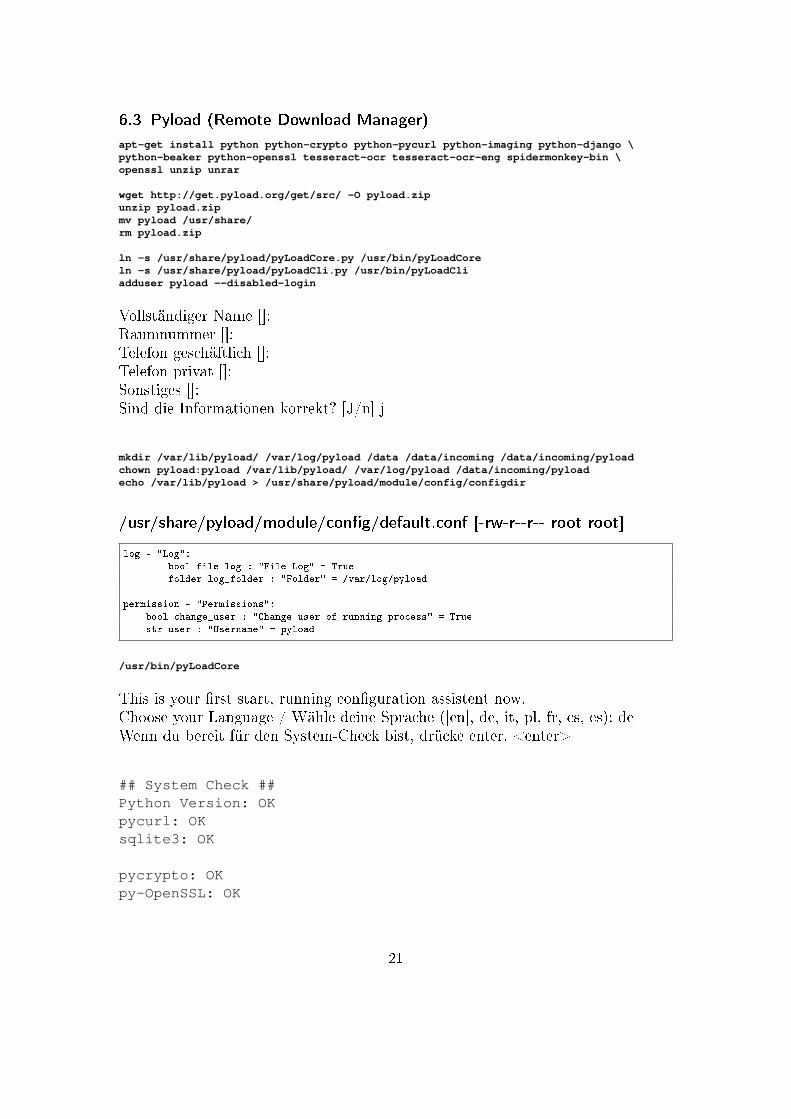
6.3 Pyload (Remote Download Manager)apt-get install python python-crypto python-pycurl python-imaging python-django \python-beaker python-openssl tesseract-ocr tesseract-ocr-eng spidermonkey-bin \openssl unzip unrar
wget http://get.pyload.org/get/src/ -O pyload.zipunzip pyload.zipmv pyload /usr/share/rm pyload.zip
ln -s /usr/share/pyload/pyLoadCore.py /usr/bin/pyLoadCoreln -s /usr/share/pyload/pyLoadCli.py /usr/bin/pyLoadCliadduser pyload --disabled-login
Vollständiger Name []:Raumnummer []:Telefon geschäftlich []:Telefon privat []:Sonstiges []:Sind die Informationen korrekt? [J/n] j
mkdir /var/lib/pyload/ /var/log/pyload /data /data/incoming /data/incoming/pyloadchown pyload:pyload /var/lib/pyload/ /var/log/pyload /data/incoming/pyloadecho /var/lib/pyload > /usr/share/pyload/module/config/configdir
/usr/share/pyload/module/con�g/default.conf [-rw-r--r-- root root]
log - "Log":
bool file_log : "File Log" = True
folder log_folder : "Folder" = /var/log/pyload
permission - "Permissions":
bool change_user : "Change user of running process" = True
str user : "Username" = pyload
/usr/bin/pyLoadCore
This is your �rst start, running con�guration assistent now.Choose your Language / Wähle deine Sprache ([en], de, it, pl, fr, cs, es): deWenn du bereit für den System-Check bist, drücke enter. <enter>
## System Check ##Python Version: OKpycurl: OKsqlite3: OK
pycrypto: OKpy-OpenSSL: OK
21
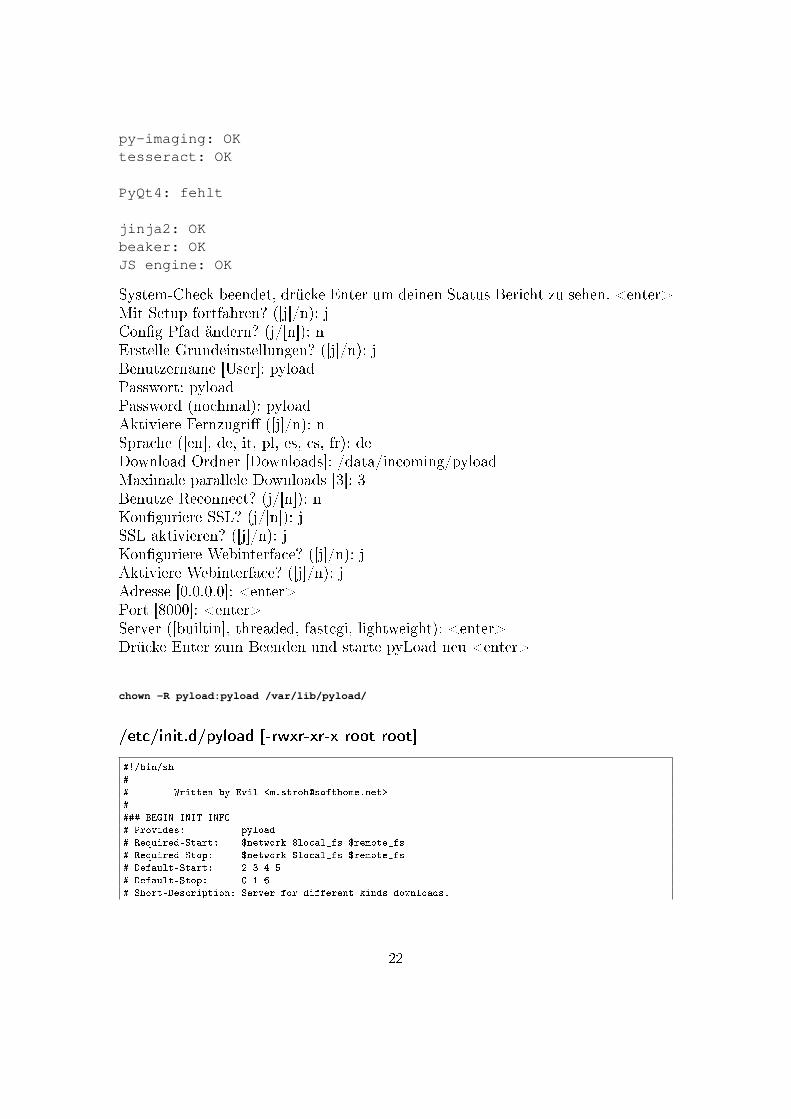
py-imaging: OKtesseract: OK
PyQt4: fehlt
jinja2: OKbeaker: OKJS engine: OK
System-Check beendet, drücke Enter um deinen Status Bericht zu sehen. <enter>Mit Setup fortfahren? ([j]/n): jCon�g Pfad ändern? (j/[n]): nErstelle Grundeinstellungen? ([j]/n): jBenutzername [User]: pyloadPasswort: pyloadPassword (nochmal): pyloadAktiviere Fernzugri� ([j]/n): nSprache ([en], de, it, pl, es, cs, fr): deDownload Ordner [Downloads]: /data/incoming/pyloadMaximale parallele Downloads [3]: 3Benutze Reconnect? (j/[n]): nKon�guriere SSL? (j/[n]): jSSL aktivieren? ([j]/n): jKon�guriere Webinterface? ([j]/n): jAktiviere Webinterface? ([j]/n): jAdresse [0.0.0.0]: <enter>Port [8000]: <enter>Server ([builtin], threaded, fastcgi, lightweight): <enter>Drücke Enter zum Beenden und starte pyLoad neu <enter>
chown -R pyload:pyload /var/lib/pyload/
/etc/init.d/pyload [-rwxr-xr-x root root]
#!/bin/sh
#
# Written by Evil <[email protected]>
#
### BEGIN INIT INFO
# Provides: pyload
# Required-Start: $network $local_fs $remote_fs
# Required-Stop: $network $local_fs $remote_fs
# Default-Start: 2 3 4 5
# Default-Stop: 0 1 6
# Short-Description: Server for different kinds downloads.
22
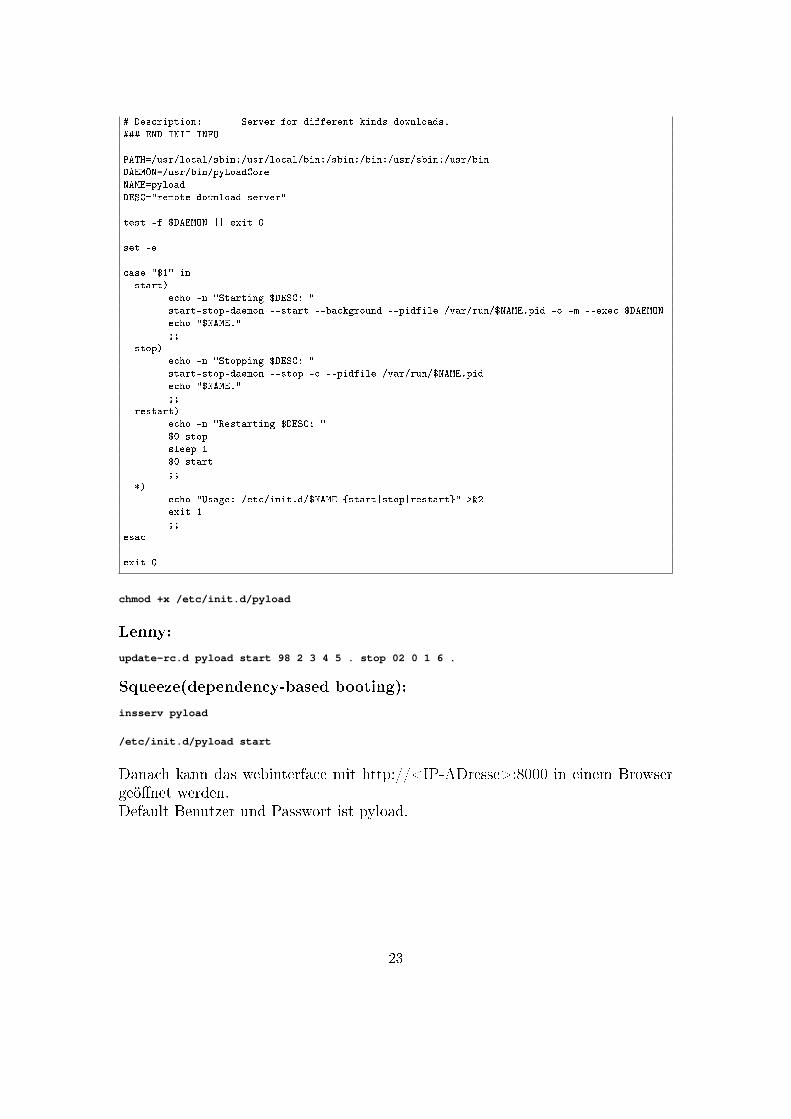
# Description: Server for different kinds downloads.
### END INIT INFO
PATH=/usr/local/sbin:/usr/local/bin:/sbin:/bin:/usr/sbin:/usr/bin
DAEMON=/usr/bin/pyLoadCore
NAME=pyload
DESC="remote download server"
test -f $DAEMON || exit 0
set -e
case "$1" in
start)
echo -n "Starting $DESC: "
start-stop-daemon --start --background --pidfile /var/run/$NAME.pid -o -m --exec $DAEMON
echo "$NAME."
;;
stop)
echo -n "Stopping $DESC: "
start-stop-daemon --stop -o --pidfile /var/run/$NAME.pid
echo "$NAME."
;;
restart)
echo -n "Restarting $DESC: "
$0 stop
sleep 1
$0 start
;;
*)
echo "Usage: /etc/init.d/$NAME {start|stop|restart}" >&2
exit 1
;;
esac
exit 0
chmod +x /etc/init.d/pyload
Lenny:
update-rc.d pyload start 98 2 3 4 5 . stop 02 0 1 6 .
Squeeze(dependency-based booting):
insserv pyload
/etc/init.d/pyload start
Danach kann das webinterface mit http://<IP-ADresse>:8000 in einem Browsergeö�net werden.Default Benutzer und Passwort ist pyload.
23

7 Sicherheit
7.1 fail2ban (Log-Analysator)
Wichtiger Hinweis: http://www.ossec.net/main/attacking-log-analysis-tools
apt-get install fail2ban
/etc/fail2ban/jail.conf [-rw-r--r-- root root]
ignoreip = 127.0.0.1
bantime = 600
maxretry = 3
banaction = iptables-multiport
[ssh]
enabled = true
port = ssh
filter = sshd
logpath = /var/log/auth.log
maxretry = 3
[proftpd]
enabled = true
port = ftp,ftp-data,ftps,ftps-data
filter = proftpd
logpath = /var/log/proftpd/proftpd.log
maxretry = 3
/etc/init.d/fail2ban restart
fail2ban-client statusfail2ban-client status ssh
7.2 apticron (Debian Update Manager)apt-get install apticron
/etc/apticron/apticron.conf [-rw-r--r-- root root]
#EMAIL="root"
EMAIL="[email protected]"
SYSTEM="Server Name"
7.3 Zshapt-get install zsh
mv /etc/zsh/zshrc /etc/zsh/zshrc.oldwget -O /etc/zsh/zshrc http://git.grml.org/f/grml-etc-core/etc/zsh/zshrc
chsh -s /bin/zsh root
24
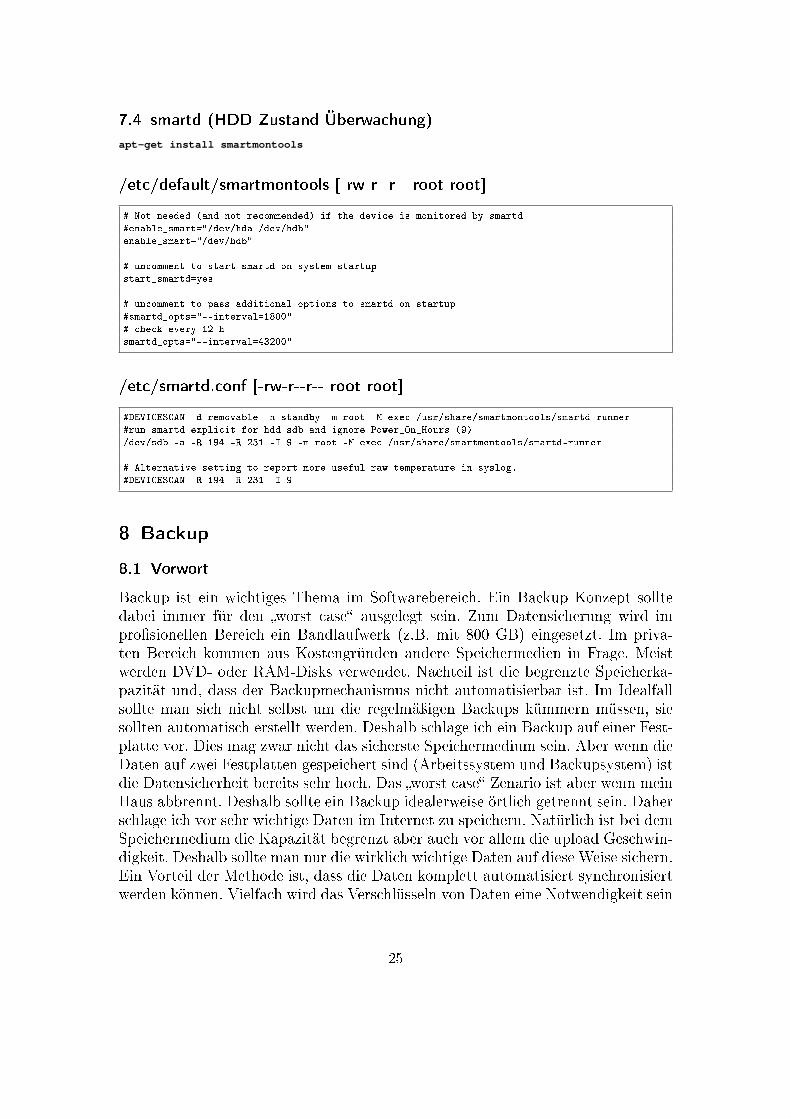
7.4 smartd (HDD Zustand Überwachung)apt-get install smartmontools
/etc/default/smartmontools [-rw-r--r-- root root]
# Not needed (and not recommended) if the device is monitored by smartd
#enable_smart="/dev/hda /dev/hdb"
enable_smart="/dev/hdb"
# uncomment to start smartd on system startup
start_smartd=yes
# uncomment to pass additional options to smartd on startup
#smartd_opts="--interval=1800"
# check every 12 h
smartd_opts="--interval=43200"
/etc/smartd.conf [-rw-r--r-- root root]
#DEVICESCAN -d removable -n standby -m root -M exec /usr/share/smartmontools/smartd-runner
#run smartd explicit for hdd sdb and ignore Power_On_Hours (9)
/dev/sdb -a -R 194 -R 231 -I 9 -m root -M exec /usr/share/smartmontools/smartd-runner
# Alternative setting to report more useful raw temperature in syslog.
#DEVICESCAN -R 194 -R 231 -I 9
8 Backup
8.1 Vorwort
Backup ist ein wichtiges Thema im Softwarebereich. Ein Backup Konzept solltedabei immer für den �worst case� ausgelegt sein. Zum Datensicherung wird impro�sionellen Bereich ein Bandlaufwerk (z.B. mit 800 GB) eingesetzt. Im priva-ten Bereich kommen aus Kostengründen andere Speichermedien in Frage. Meistwerden DVD- oder RAM-Disks verwendet. Nachteil ist die begrenzte Speicherka-pazität und, dass der Backupmechanismus nicht automatisierbar ist. Im Idealfallsollte man sich nicht selbst um die regelmäÿigen Backups kümmern müssen, siesollten automatisch erstellt werden. Deshalb schlage ich ein Backup auf einer Fest-platte vor. Dies mag zwar nicht das sicherste Speichermedium sein. Aber wenn dieDaten auf zwei Festplatten gespeichert sind (Arbeitssystem und Backupsystem) istdie Datensicherheit bereits sehr hoch. Das �worst case� Zenario ist aber wenn meinHaus abbrennt. Deshalb sollte ein Backup idealerweise örtlich getrennt sein. Daherschlage ich vor sehr wichtige Daten im Internet zu speichern. Natürlich ist bei demSpeichermedium die Kapazität begrenzt aber auch vor allem die upload Geschwin-digkeit. Deshalb sollte man nur die wirklich wichtige Daten auf diese Weise sichern.Ein Vorteil der Methode ist, dass die Daten komplett automatisiert synchronisiertwerden können. Vielfach wird das Verschlüsseln von Daten eine Notwendigkeit sein
25
um private Daten vor Spionage zu schützen. Die folgende Beschreibung soll eineMöglichkeit geben, das beschriebene Backupzenario zu implementieren. Dabei ver-wende ich ein 2 GB gratis Webstorage von MyDrive (http://www.mydrive.ch/).Ein lokale Verzeichnis auf einer Festplatte wird per WebDAV mit dem Webstoragesynchronisiert.Folgende Sicherungen werden beschrieben:
• Sicherung einer Homepage auf eine Festplatte
• Sicherung eines Subversion Repositories auf einem Webspace
• Sicherung eines Verzeichnisses oder Datei auf einem Webspace
• Sicherung von USB Datenträger beim Anstecken bzw. Laden(Ebook Reader,Smartphone)
• Sicherung der gesamten Linux System-Daten
Zum Komprimieren und Verschlüsseln der Daten wird 7-Zip verwendet. Bei Syste-men mit wenig Arbeitsspeicher sollte unbedingt der Parameter �-mx3� verwendetwerden (Komprimierungsstufe niedrig).
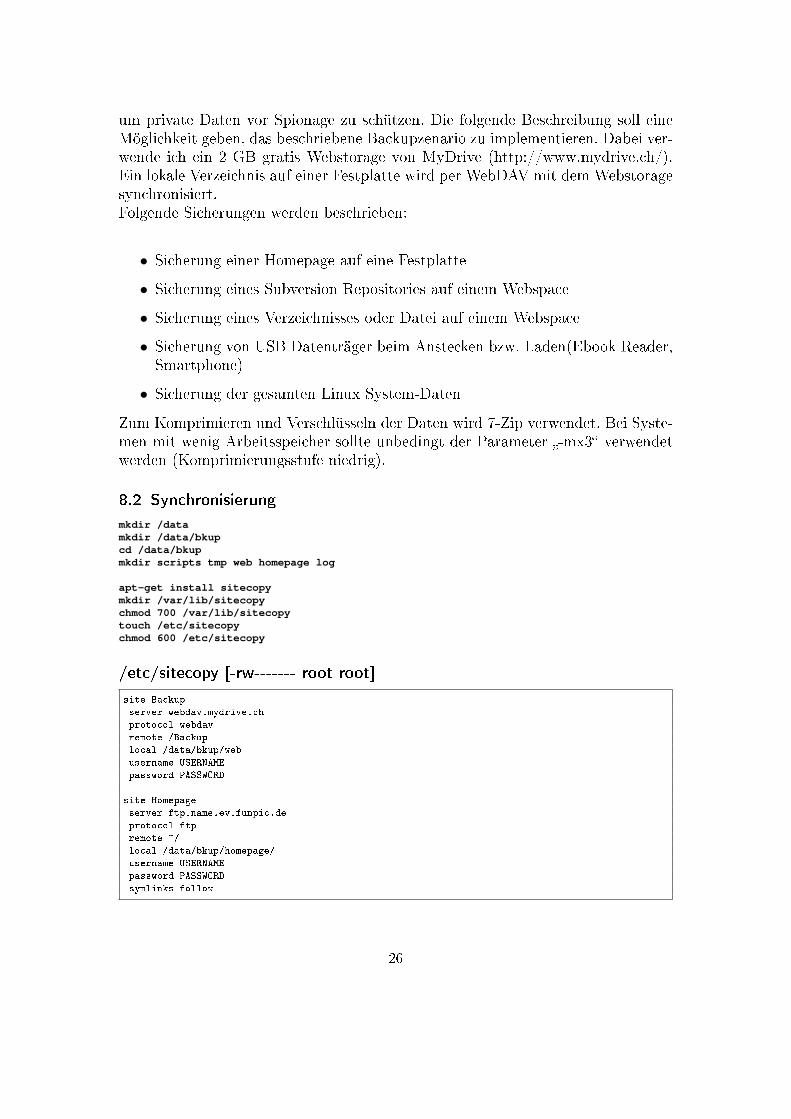
8.2 Synchronisierungmkdir /datamkdir /data/bkupcd /data/bkupmkdir scripts tmp web homepage log
apt-get install sitecopymkdir /var/lib/sitecopychmod 700 /var/lib/sitecopytouch /etc/sitecopychmod 600 /etc/sitecopy
/etc/sitecopy [-rw------- root root]
site Backup
server webdav.mydrive.ch
protocol webdav
remote /Backup
local /data/bkup/web
username USERNAME
password PASSWORD
site Homepage
server ftp.name.ev.funpic.de
protocol ftp
remote ~/
local /data/bkup/homepage/
username USERNAME
password PASSWORD
symlinks follow
26
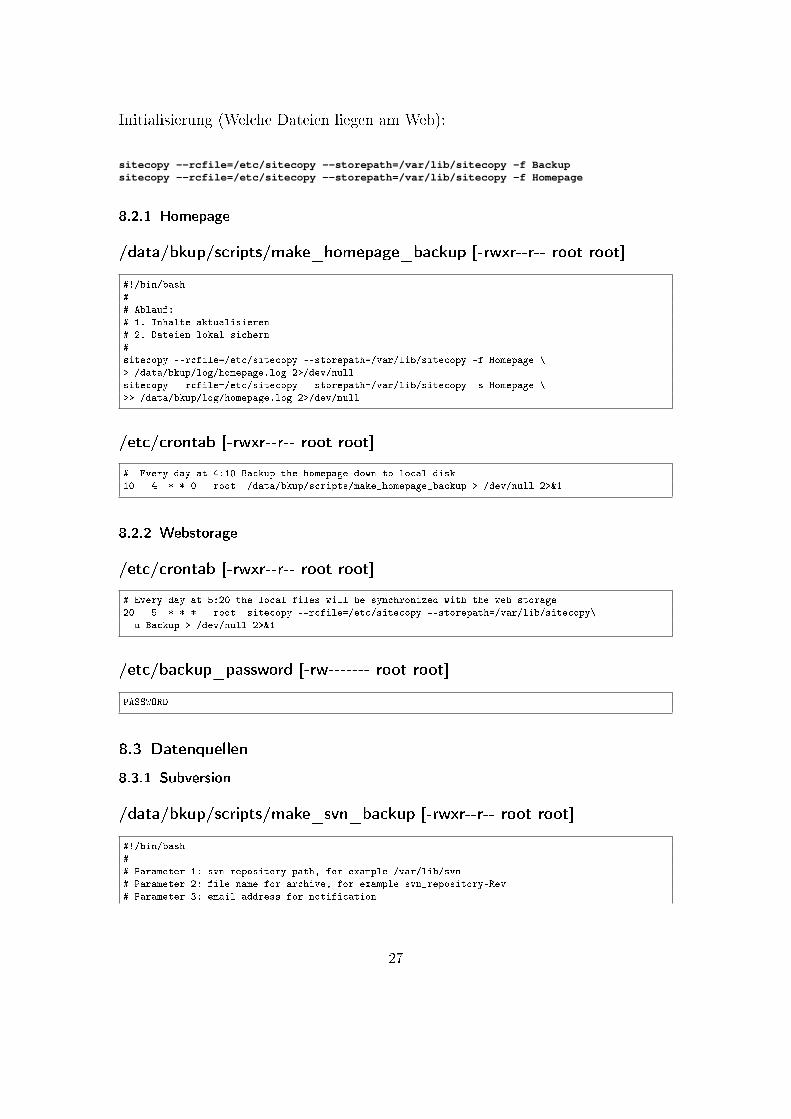
Initialisierung (Welche Dateien liegen am Web):
sitecopy --rcfile=/etc/sitecopy --storepath=/var/lib/sitecopy -f Backupsitecopy --rcfile=/etc/sitecopy --storepath=/var/lib/sitecopy -f Homepage
8.2.1 Homepage
/data/bkup/scripts/make_homepage_backup [-rwxr--r-- root root]
#!/bin/bash
#
# Ablauf:
# 1. Inhalte aktualisieren
# 2. Dateien lokal sichern
#
sitecopy --rcfile=/etc/sitecopy --storepath=/var/lib/sitecopy -f Homepage \
> /data/bkup/log/homepage.log 2>/dev/null
sitecopy --rcfile=/etc/sitecopy --storepath=/var/lib/sitecopy -s Homepage \
>> /data/bkup/log/homepage.log 2>/dev/null
/etc/crontab [-rwxr--r-- root root]
# Every day at 4:10 Backup the homepage down to local disk
10 4 * * 0 root /data/bkup/scripts/make_homepage_backup > /dev/null 2>&1
8.2.2 Webstorage
/etc/crontab [-rwxr--r-- root root]
# Every day at 5:20 the local files will be synchronized with the web storage
20 5 * * * root sitecopy --rcfile=/etc/sitecopy --storepath=/var/lib/sitecopy\
-u Backup > /dev/null 2>&1
/etc/backup_password [-rw------- root root]
PASSWORD
8.3 Datenquellen
8.3.1 Subversion
/data/bkup/scripts/make_svn_backup [-rwxr--r-- root root]
#!/bin/bash
#
# Parameter 1: svn repository path, for example /var/lib/svn
# Parameter 2: file name for archive, for example svn_repository-Rev
# Parameter 3: email address for notification
27
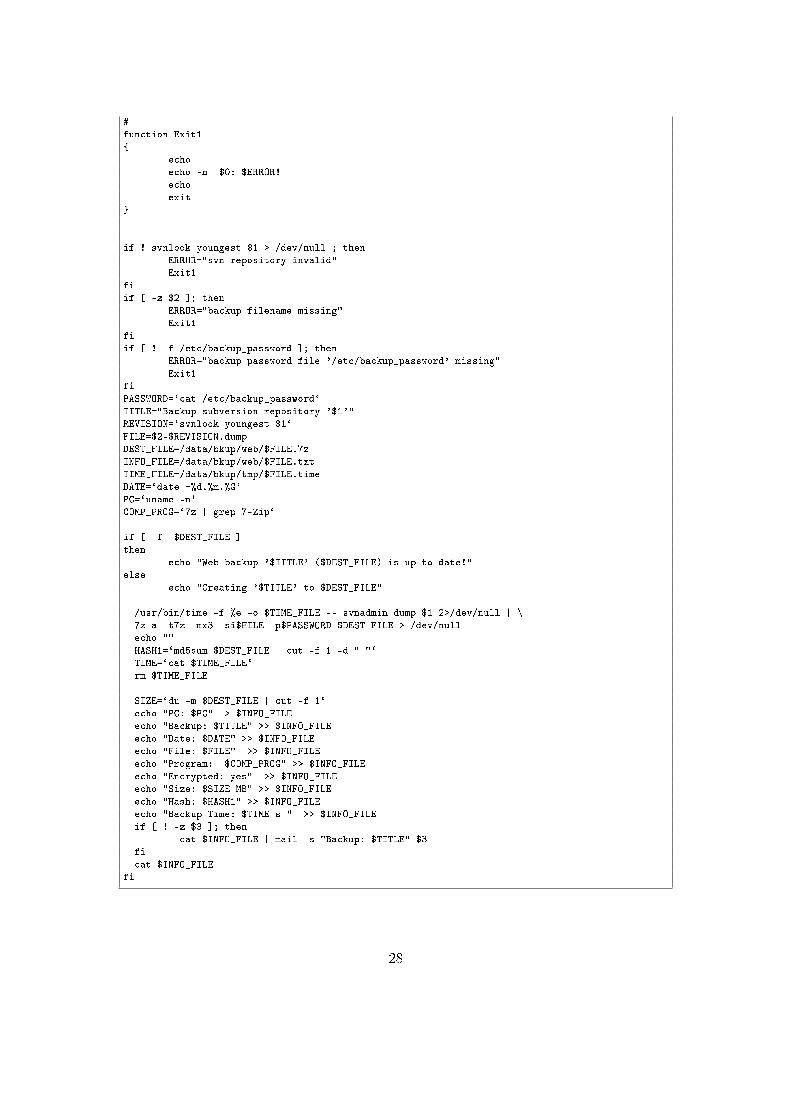
#
function Exit1
{
echo
echo -n $0: $ERROR!
echo
exit
}
if ! svnlook youngest $1 > /dev/null ; then
ERROR="svn repository invalid"
Exit1
fi
if [ -z $2 ]; then
ERROR="backup filename missing"
Exit1
fi
if [ ! -f /etc/backup_password ]; then
ERROR="backup password file '/etc/backup_password' missing"
Exit1
fi
PASSWORD=`cat /etc/backup_password`
TITLE="Backup subversion repository '$1'"
REVISION=`svnlook youngest $1`
FILE=$2-$REVISION.dump
DEST_FILE=/data/bkup/web/$FILE.7z
INFO_FILE=/data/bkup/web/$FILE.txt
TIME_FILE=/data/bkup/tmp/$FILE.time
DATE=`date +%d.%m.%G`
PC=`uname -n`
COMP_PROG=`7z | grep 7-Zip`
if [ -f $DEST_FILE ]
then
echo "Web backup '$TITLE' ($DEST_FILE) is up to date!"
else
echo "Creating '$TITLE' to $DEST_FILE"
/usr/bin/time -f %e -o $TIME_FILE -- svnadmin dump $1 2>/dev/null | \
7z a -t7z -mx3 -si$FILE -p$PASSWORD $DEST_FILE > /dev/null
echo ""
HASH1=`md5sum $DEST_FILE | cut -f 1 -d " "`
TIME=`cat $TIME_FILE`
rm $TIME_FILE
SIZE=`du -m $DEST_FILE | cut -f 1`
echo "PC: $PC" > $INFO_FILE
echo "Backup: $TITLE" >> $INFO_FILE
echo "Date: $DATE" >> $INFO_FILE
echo "File: $FILE" >> $INFO_FILE
echo "Program: $COMP_PROG" >> $INFO_FILE
echo "Encrypted: yes" >> $INFO_FILE
echo "Size: $SIZE MB" >> $INFO_FILE
echo "Hash: $HASH1" >> $INFO_FILE
echo "Backup Time: $TIME s " >> $INFO_FILE
if [ ! -z $3 ]; then
cat $INFO_FILE | mail -s "Backup: $TITLE" $3
fi
cat $INFO_FILE
fi
28
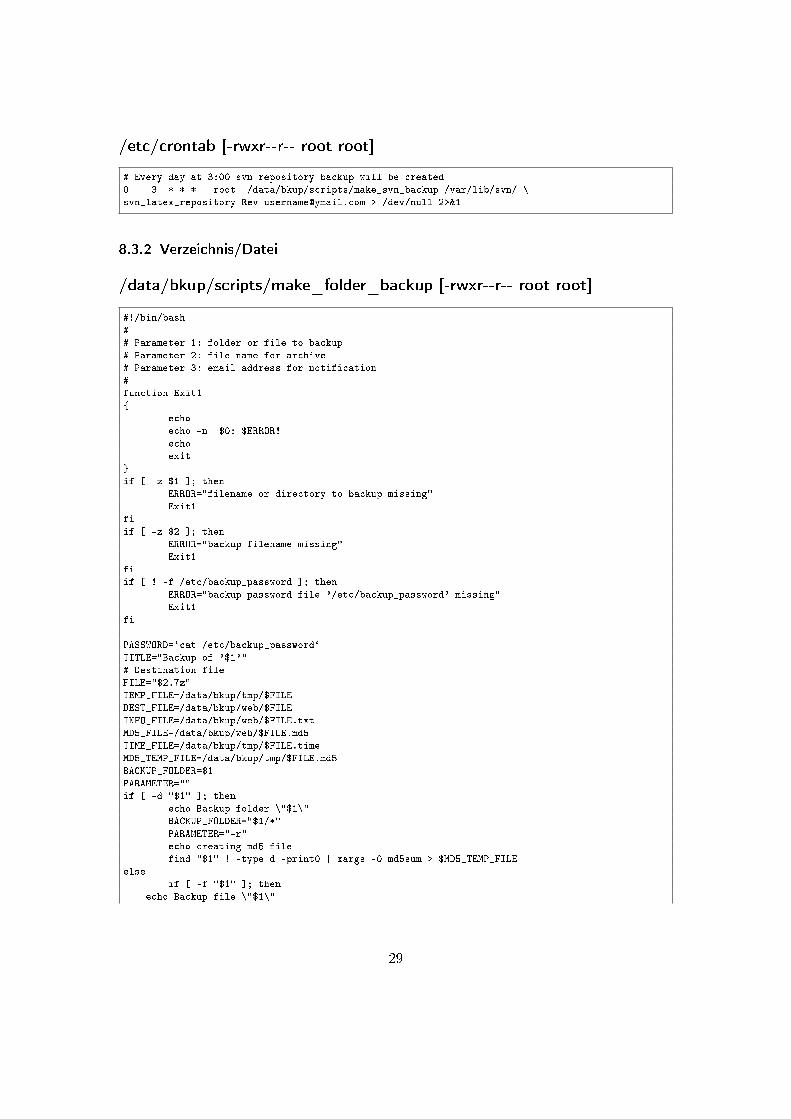
/etc/crontab [-rwxr--r-- root root]
# Every day at 3:00 svn repository backup will be created
0 3 * * * root /data/bkup/scripts/make_svn_backup /var/lib/svn/ \
svn_latex_repository-Rev [email protected] > /dev/null 2>&1
8.3.2 Verzeichnis/Datei
/data/bkup/scripts/make_folder_backup [-rwxr--r-- root root]
#!/bin/bash
#
# Parameter 1: folder or file to backup
# Parameter 2: file name for archive
# Parameter 3: email address for notification
#
function Exit1
{
echo
echo -n $0: $ERROR!
echo
exit
}
if [ -z $1 ]; then
ERROR="filename or directory to backup missing"
Exit1
fi
if [ -z $2 ]; then
ERROR="backup filename missing"
Exit1
fi
if [ ! -f /etc/backup_password ]; then
ERROR="backup password file '/etc/backup_password' missing"
Exit1
fi
PASSWORD=`cat /etc/backup_password`
TITLE="Backup of '$1'"
# Destination file
FILE="$2.7z"
TEMP_FILE=/data/bkup/tmp/$FILE
DEST_FILE=/data/bkup/web/$FILE
INFO_FILE=/data/bkup/web/$FILE.txt
MD5_FILE=/data/bkup/web/$FILE.md5
TIME_FILE=/data/bkup/tmp/$FILE.time
MD5_TEMP_FILE=/data/bkup/tmp/$FILE.md5
BACKUP_FOLDER=$1
PARAMETER=""
if [ -d "$1" ]; then
echo Backup folder \"$1\"
BACKUP_FOLDER="$1/*"
PARAMETER="-r"
echo creating md5 file
find "$1" ! -type d -print0 | xargs -0 md5sum > $MD5_TEMP_FILE
else
if [ -f "$1" ]; then
echo Backup file \"$1\"
29
BACKUP_FOLDER="$1"
md5sum "$1" > $MD5_TEMP_FILE
else
ERROR="backup file not found"
Exit1
fi
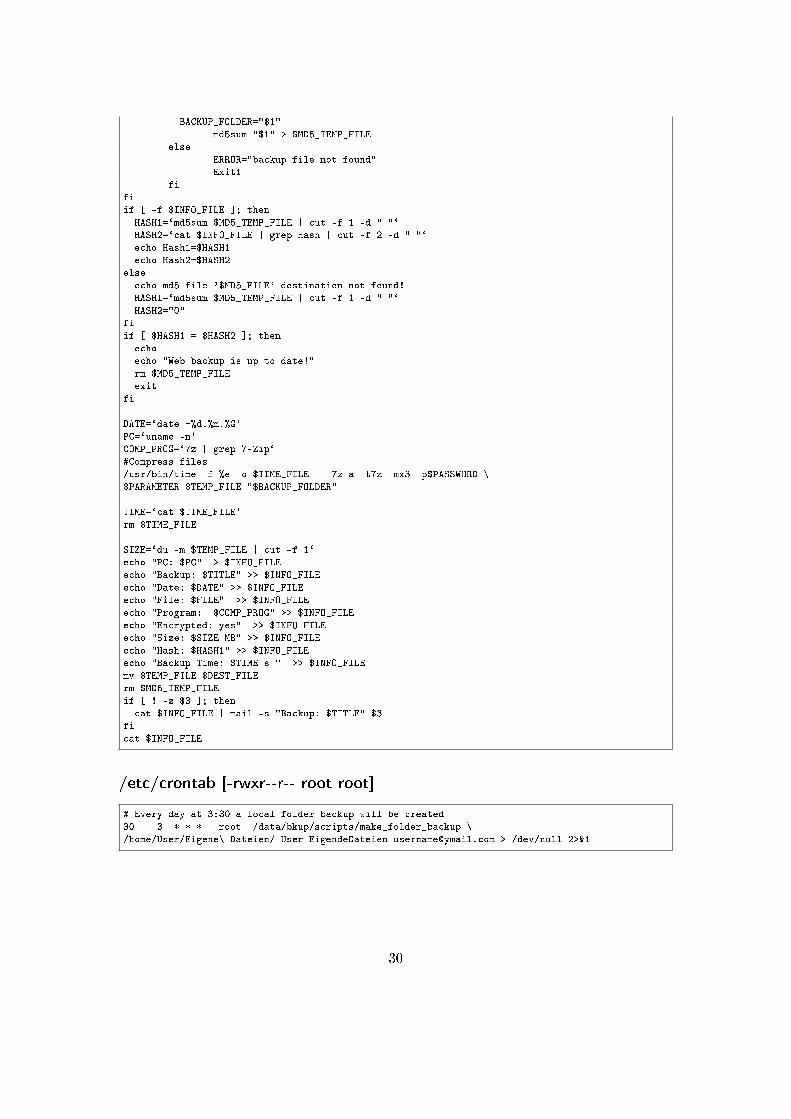
fi
if [ -f $INFO_FILE ]; then
HASH1=`md5sum $MD5_TEMP_FILE | cut -f 1 -d " "`
HASH2=`cat $INFO_FILE | grep Hash | cut -f 2 -d " "`
echo Hash1=$HASH1
echo Hash2=$HASH2
else
echo md5 file '$MD5_FILE' destination not found!
HASH1=`md5sum $MD5_TEMP_FILE | cut -f 1 -d " "`
HASH2="0"
fi
if [ $HASH1 = $HASH2 ]; then
echo
echo "Web backup is up to date!"
rm $MD5_TEMP_FILE
exit
fi
DATE=`date +%d.%m.%G`
PC=`uname -n`
COMP_PROG=`7z | grep 7-Zip`
#Compress files
/usr/bin/time -f %e -o $TIME_FILE -- 7z a -t7z -mx3 -p$PASSWORD \
$PARAMETER $TEMP_FILE "$BACKUP_FOLDER"
TIME=`cat $TIME_FILE`
rm $TIME_FILE
SIZE=`du -m $TEMP_FILE | cut -f 1`
echo "PC: $PC" > $INFO_FILE
echo "Backup: $TITLE" >> $INFO_FILE
echo "Date: $DATE" >> $INFO_FILE
echo "File: $FILE" >> $INFO_FILE
echo "Program: $COMP_PROG" >> $INFO_FILE
echo "Encrypted: yes" >> $INFO_FILE
echo "Size: $SIZE MB" >> $INFO_FILE
echo "Hash: $HASH1" >> $INFO_FILE
echo "Backup Time: $TIME s " >> $INFO_FILE
mv $TEMP_FILE $DEST_FILE
rm $MD5_TEMP_FILE
if [ ! -z $3 ]; then
cat $INFO_FILE | mail -s "Backup: $TITLE" $3
fi
cat $INFO_FILE
/etc/crontab [-rwxr--r-- root root]
# Every day at 3:30 a local folder backup will be created
30 3 * * * root /data/bkup/scripts/make_folder_backup \
/home/User/Eigene\ Dateien/ User-EigendeDateien [email protected] > /dev/null 2>&1
30
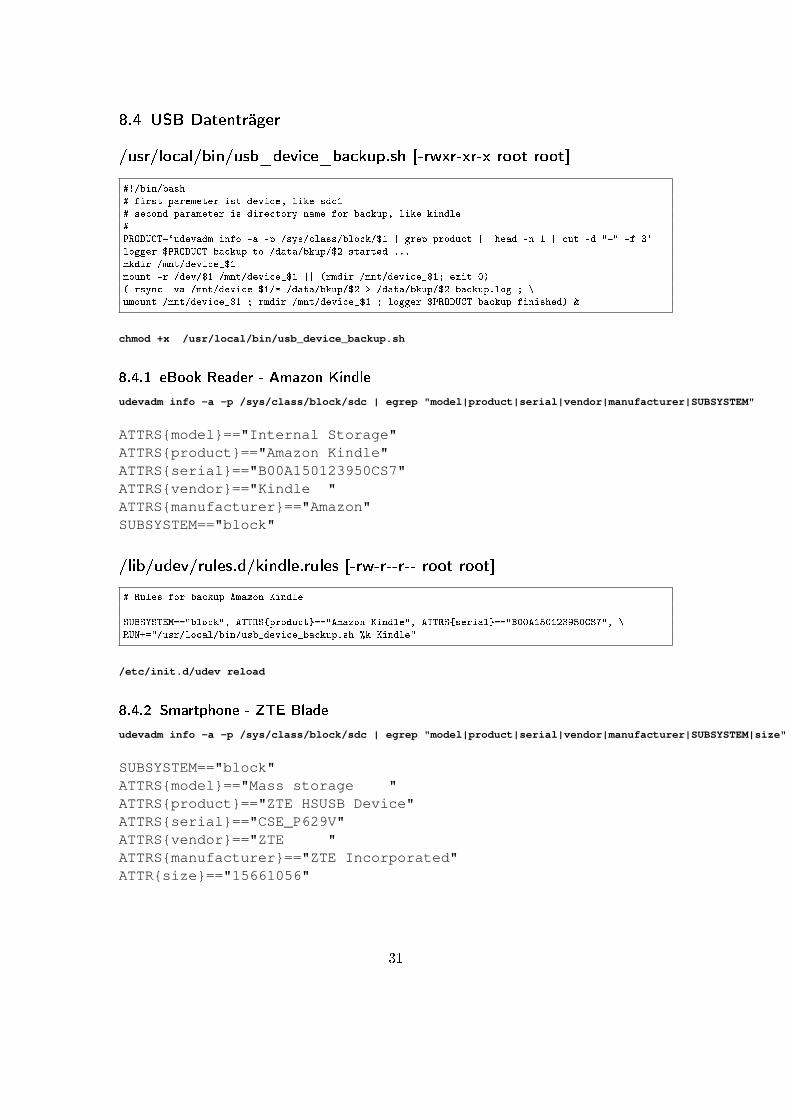
8.4 USB Datenträger
/usr/local/bin/usb_device_backup.sh [-rwxr-xr-x root root]
#!/bin/bash
# first paremeter ist device, like sdc1
# second parameter is directory name for backup, like kindle
#
PRODUCT=`udevadm info -a -p /sys/class/block/$1 | grep product | head -n 1 | cut -d "=" -f 3`
logger $PRODUCT backup to /data/bkup/$2 started ...
mkdir /mnt/device_$1
mount -r /dev/$1 /mnt/device_$1 || (rmdir /mnt/device_$1; exit 0)
( rsync -va /mnt/device_$1/* /data/bkup/$2 > /data/bkup/$2_backup.log ; \
umount /mnt/device_$1 ; rmdir /mnt/device_$1 ; logger $PRODUCT backup finished) &
chmod +x /usr/local/bin/usb_device_backup.sh
8.4.1 eBook Reader - Amazon Kindle
udevadm info -a -p /sys/class/block/sdc | egrep "model|product|serial|vendor|manufacturer|SUBSYSTEM"
ATTRS{model}=="Internal Storage"ATTRS{product}=="Amazon Kindle"ATTRS{serial}=="B00A150123950CS7"ATTRS{vendor}=="Kindle "ATTRS{manufacturer}=="Amazon"SUBSYSTEM=="block"
/lib/udev/rules.d/kindle.rules [-rw-r--r-- root root]
# Rules for backup Amazon Kindle
SUBSYSTEM=="block", ATTRS{product}=="Amazon Kindle", ATTRS{serial}=="B00A150123950CS7", \
RUN+="/usr/local/bin/usb_device_backup.sh %k Kindle"
/etc/init.d/udev reload
8.4.2 Smartphone - ZTE Blade
udevadm info -a -p /sys/class/block/sdc | egrep "model|product|serial|vendor|manufacturer|SUBSYSTEM|size"
SUBSYSTEM=="block"ATTRS{model}=="Mass storage "ATTRS{product}=="ZTE HSUSB Device"ATTRS{serial}=="CSE_P629V"ATTRS{vendor}=="ZTE "ATTRS{manufacturer}=="ZTE Incorporated"ATTR{size}=="15661056"
31
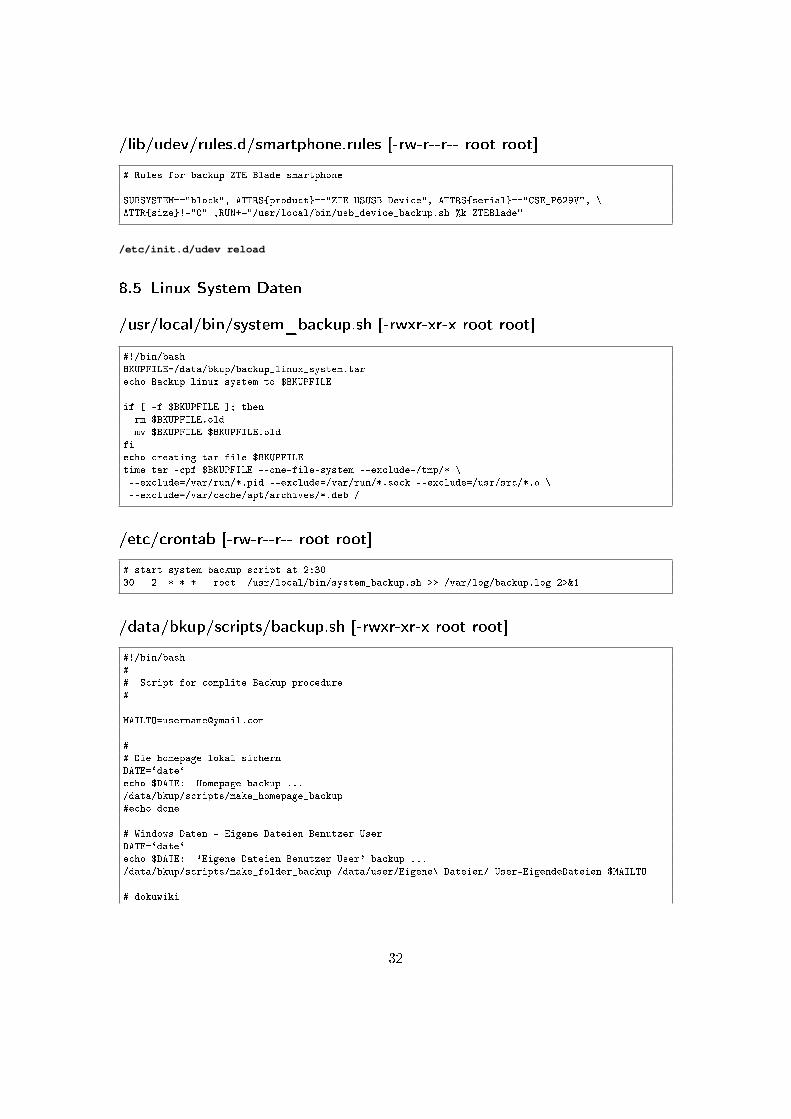
/lib/udev/rules.d/smartphone.rules [-rw-r--r-- root root]
# Rules for backup ZTE Blade smartphone
SUBSYSTEM=="block", ATTRS{product}=="ZTE HSUSB Device", ATTRS{serial}=="CSE_P629V", \
ATTR{size}!="0" ,RUN+="/usr/local/bin/usb_device_backup.sh %k ZTEBlade"
/etc/init.d/udev reload
8.5 Linux System Daten
/usr/local/bin/system_backup.sh [-rwxr-xr-x root root]
#!/bin/bash
BKUPFILE=/data/bkup/backup_linux_system.tar
echo Backup linux system to $BKUPFILE
if [ -f $BKUPFILE ]; then
rm $BKUPFILE.old
mv $BKUPFILE $BKUPFILE.old
fi
echo creating tar file $BKUPFILE
time tar -cpf $BKUPFILE --one-file-system --exclude=/tmp/* \
--exclude=/var/run/*.pid --exclude=/var/run/*.sock --exclude=/usr/src/*.o \
--exclude=/var/cache/apt/archives/*.deb /
/etc/crontab [-rw-r--r-- root root]
# start system backup script at 2:30
30 2 * * * root /usr/local/bin/system_backup.sh >> /var/log/backup.log 2>&1
/data/bkup/scripts/backup.sh [-rwxr-xr-x root root]
#!/bin/bash
#
# Script for complite Backup procedure
#
#
# Die homepage lokal sichern
DATE=`date`
echo $DATE: Homepage backup ...
/data/bkup/scripts/make_homepage_backup
#echo done
# Windows Daten - Eigene Dateien Benutzer User
DATE=`date`
echo $DATE: 'Eigene Dateien Benutzer User' backup ...
/data/bkup/scripts/make_folder_backup /data/user/Eigene\ Dateien/ User-EigendeDateien $MAILTO
# dokuwiki
32
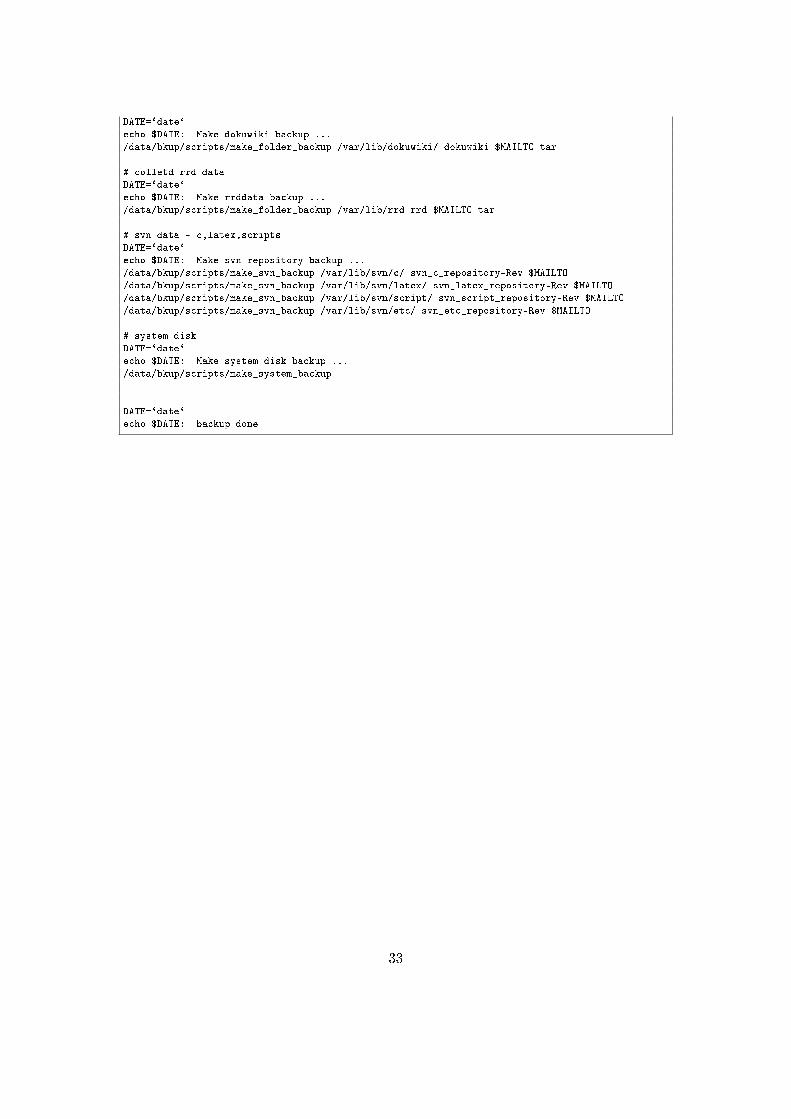
DATE=`date`
echo $DATE: Make dokuwiki backup ...
/data/bkup/scripts/make_folder_backup /var/lib/dokuwiki/ dokuwiki $MAILTO tar
# colletd rrd data
DATE=`date`
echo $DATE: Make rrddata backup ...
/data/bkup/scripts/make_folder_backup /var/lib/rrd rrd $MAILTO tar
# svn data - c,latex,scripts
DATE=`date`
echo $DATE: Make svn repository backup ...
/data/bkup/scripts/make_svn_backup /var/lib/svn/c/ svn_c_repository-Rev $MAILTO
/data/bkup/scripts/make_svn_backup /var/lib/svn/latex/ svn_latex_repository-Rev $MAILTO
/data/bkup/scripts/make_svn_backup /var/lib/svn/script/ svn_script_repository-Rev $MAILTO
/data/bkup/scripts/make_svn_backup /var/lib/svn/etc/ svn_etc_repository-Rev $MAILTO
# system disk
DATE=`date`
echo $DATE: Make system disk backup ...
/data/bkup/scripts/make_system_backup
DATE=`date`
echo $DATE: backup done
33
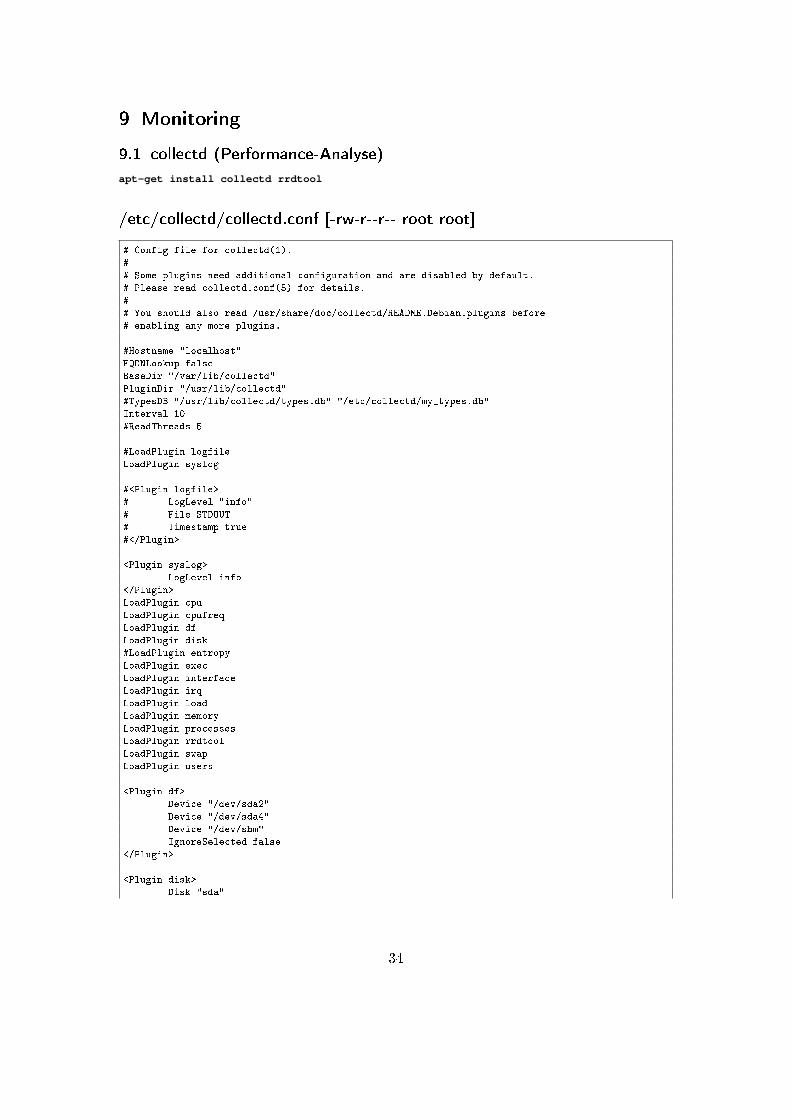
9 Monitoring
9.1 collectd (Performance-Analyse)apt-get install collectd rrdtool
/etc/collectd/collectd.conf [-rw-r--r-- root root]
# Config file for collectd(1).
#
# Some plugins need additional configuration and are disabled by default.
# Please read collectd.conf(5) for details.
#
# You should also read /usr/share/doc/collectd/README.Debian.plugins before
# enabling any more plugins.
#Hostname "localhost"
FQDNLookup false
BaseDir "/var/lib/collectd"
PluginDir "/usr/lib/collectd"
#TypesDB "/usr/lib/collectd/types.db" "/etc/collectd/my_types.db"
Interval 10
#ReadThreads 5
#LoadPlugin logfile
LoadPlugin syslog
#<Plugin logfile>
# LogLevel "info"
# File STDOUT
# Timestamp true
#</Plugin>
<Plugin syslog>
LogLevel info
</Plugin>
LoadPlugin cpu
LoadPlugin cpufreq
LoadPlugin df
LoadPlugin disk
#LoadPlugin entropy
LoadPlugin exec
LoadPlugin interface
LoadPlugin irq
LoadPlugin load
LoadPlugin memory
LoadPlugin processes
LoadPlugin rrdtool
LoadPlugin swap
LoadPlugin users
<Plugin df>
Device "/dev/sda2"
Device "/dev/sda4"
Device "/dev/shm"
IgnoreSelected false
</Plugin>
<Plugin disk>
Disk "sda"
34
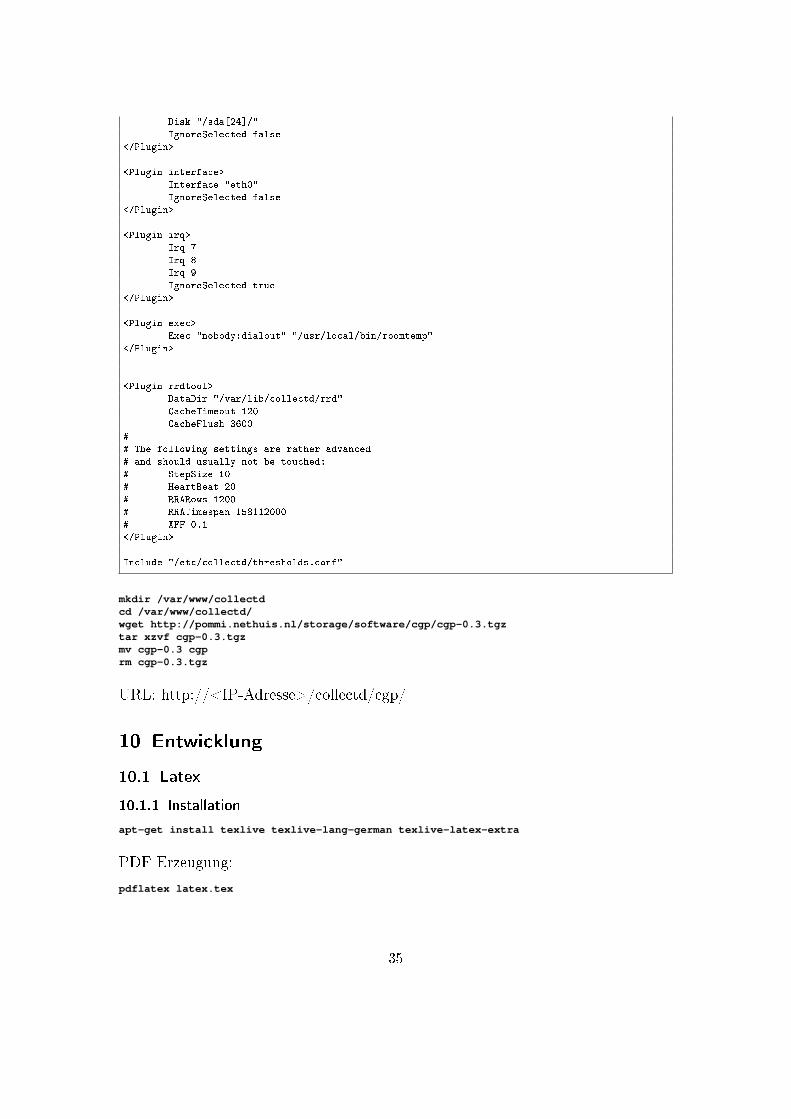
Disk "/sda[24]/"
IgnoreSelected false
</Plugin>
<Plugin interface>
Interface "eth0"
IgnoreSelected false
</Plugin>
<Plugin irq>
Irq 7
Irq 8
Irq 9
IgnoreSelected true
</Plugin>
<Plugin exec>
Exec "nobody:dialout" "/usr/local/bin/roomtemp"
</Plugin>
<Plugin rrdtool>
DataDir "/var/lib/collectd/rrd"
CacheTimeout 120
CacheFlush 3600
#
# The following settings are rather advanced
# and should usually not be touched:
# StepSize 10
# HeartBeat 20
# RRARows 1200
# RRATimespan 158112000
# XFF 0.1
</Plugin>
Include "/etc/collectd/thresholds.conf"
mkdir /var/www/collectdcd /var/www/collectd/wget http://pommi.nethuis.nl/storage/software/cgp/cgp-0.3.tgztar xzvf cgp-0.3.tgzmv cgp-0.3 cgprm cgp-0.3.tgz
URL: http://<IP-Adresse>/collectd/cgp/
10 Entwicklung
10.1 Latex
10.1.1 Installation
apt-get install texlive texlive-lang-german texlive-latex-extra
PDF Erzeugung:
pdflatex latex.tex
35
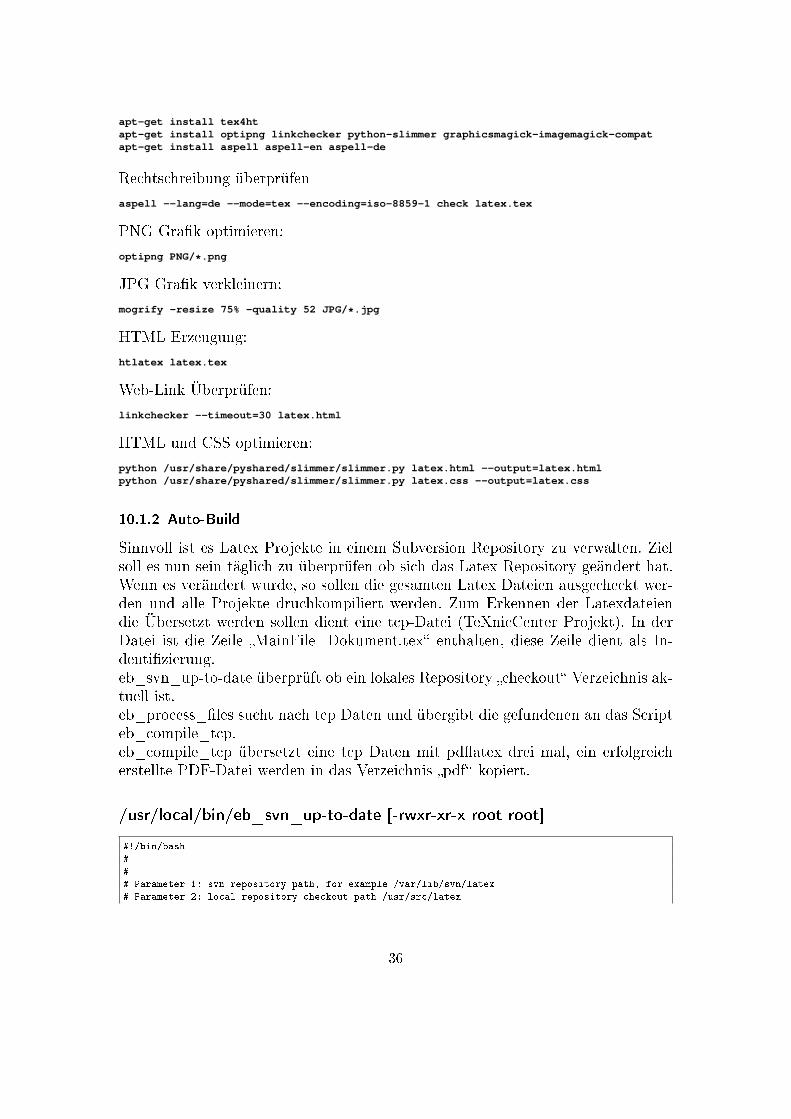
apt-get install tex4htapt-get install optipng linkchecker python-slimmer graphicsmagick-imagemagick-compatapt-get install aspell aspell-en aspell-de
Rechtschreibung überprüfen
aspell --lang=de --mode=tex --encoding=iso-8859-1 check latex.tex
PNG Gra�k optimieren:
optipng PNG/*.png
JPG Gra�k verkleinern:
mogrify -resize 75% -quality 52 JPG/*.jpg
HTML Erzeugung:
htlatex latex.tex
Web-Link Überprüfen:
linkchecker --timeout=30 latex.html
HTML und CSS optimieren:
python /usr/share/pyshared/slimmer/slimmer.py latex.html --output=latex.htmlpython /usr/share/pyshared/slimmer/slimmer.py latex.css --output=latex.css
10.1.2 Auto-Build
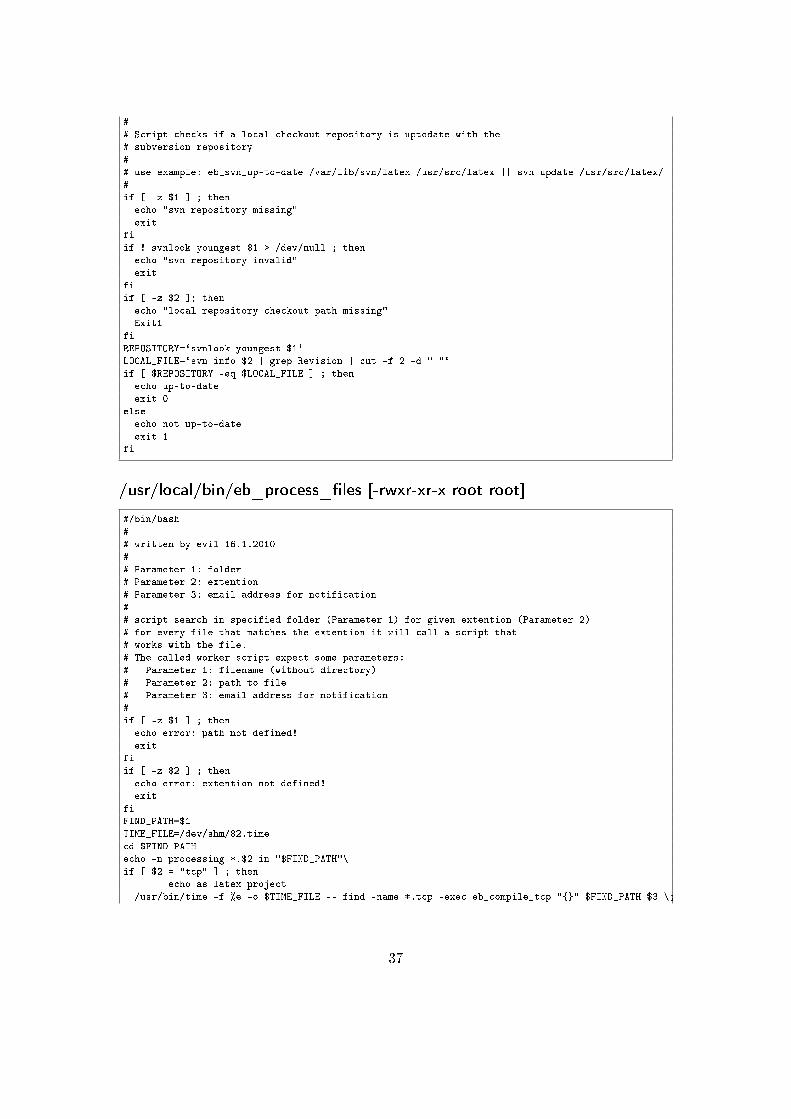
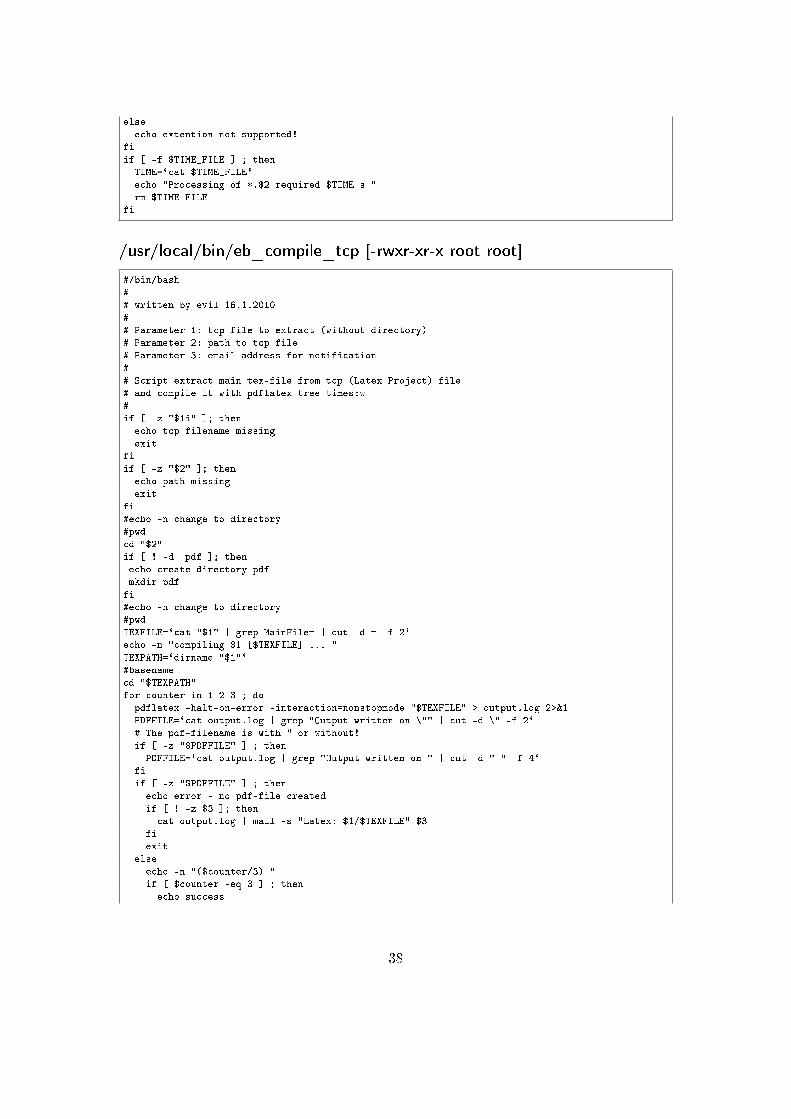
Sinnvoll ist es Latex Projekte in einem Subversion Repository zu verwalten. Zielsoll es nun sein täglich zu überprüfen ob sich das Latex Repository geändert hat.Wenn es verändert wurde, so sollen die gesamten Latex Dateien ausgecheckt wer-den und alle Projekte druchkompiliert werden. Zum Erkennen der Latexdateiendie Übersetzt werden sollen dient eine tcp-Datei (TeXnicCenter Projekt). In derDatei ist die Zeile �MainFile=Dokument.tex� enthalten, diese Zeile dient als In-denti�zierung.eb_svn_up-to-date überprüft ob ein lokales Repository �checkout� Verzeichnis ak-tuell ist.eb_process_�les sucht nach tcp Daten und übergibt die gefundenen an das Scripteb_compile_tcp.eb_compile_tcp übersetzt eine tcp Daten mit pd�atex drei mal, ein erfolgreicherstellte PDF-Datei werden in das Verzeichnis �pdf� kopiert.
/usr/local/bin/eb_svn_up-to-date [-rwxr-xr-x root root]
#!/bin/bash
#
#
# Parameter 1: svn repository path, for example /var/lib/svn/latex
# Parameter 2: local repository checkout path /usr/src/latex
36
#
# Script checks if a local checkout repository is uptodate with the
# subversion repository
#
# use example: eb_svn_up-to-date /var/lib/svn/latex /usr/src/latex || svn update /usr/src/latex/
#
if [ -z $1 ] ; then
echo "svn repository missing"
exit
fi
if ! svnlook youngest $1 > /dev/null ; then
echo "svn repository invalid"
exit
fi
if [ -z $2 ]; then
echo "local repository checkout path missing"
Exit1
fi
REPOSITORY=`svnlook youngest $1`
LOCAL_FILE=`svn info $2 | grep Revision | cut -f 2 -d " "`
if [ $REPOSITORY -eq $LOCAL_FILE ] ; then
echo up-to-date
exit 0
else
echo not up-to-date
exit 1
fi
/usr/local/bin/eb_process_�les [-rwxr-xr-x root root]
#/bin/bash
#
# written by evil 16.1.2010
#
# Parameter 1: folder
# Parameter 2: extention
# Parameter 3: email address for notification
#
# script search in specified folder (Parameter 1) for given extention (Parameter 2)
# for every file that matches the extention it will call a script that
# works with the file.
# The called worker script expect some parameters:
# Parameter 1: filename (without directory)
# Parameter 2: path to file
# Parameter 3: email address for notification
#
if [ -z $1 ] ; then
echo error: path not defined!
exit
fi
if [ -z $2 ] ; then
echo error: extention not defined!
exit
fi
FIND_PATH=$1
TIME_FILE=/dev/shm/$2.time
cd $FIND_PATH
echo -n processing *.$2 in "$FIND_PATH"\
if [ $2 = "tcp" ] ; then
echo as latex project
/usr/bin/time -f %e -o $TIME_FILE -- find -name *.tcp -exec eb_compile_tcp "{}" $FIND_PATH $3 \;
37
else
echo extention not supported!
fi
if [ -f $TIME_FILE ] ; then
TIME=`cat $TIME_FILE`
echo "Processing of *.$2 required $TIME s "
rm $TIME_FILE
fi
/usr/local/bin/eb_compile_tcp [-rwxr-xr-x root root]
#/bin/bash
#
# written by evil 16.1.2010
#
# Parameter 1: tcp file to extract (without directory)
# Parameter 2: path to tcp file
# Parameter 3: email address for notification
#
# Script extract main tex-file from tcp (Latex Project) file
# and compile it with pdflatex tree times:w
#
if [ -z "$1i" ]; then
echo tcp filename missing
exit
fi
if [ -z "$2" ]; then
echo path missing
exit
fi
#echo -n change to directory
#pwd
cd "$2"
if [ ! -d pdf ]; then
echo create directory pdf
mkdir pdf
fi
#echo -n change to directory
#pwd
TEXFILE=`cat "$1" | grep MainFile= | cut -d = -f 2`
echo -n "compiling $1 [$TEXFILE] ... "
TEXPATH=`dirname "$1"`
#basename
cd "$TEXPATH"
for counter in 1 2 3 ; do
pdflatex -halt-on-error -interaction=nonstopmode "$TEXFILE" > output.log 2>&1
PDFFILE=`cat output.log | grep "Output written on \"" | cut -d \" -f 2`
# The pdf-filename is with " or without!
if [ -z "$PDFFILE" ] ; then
PDFFILE=`cat output.log | grep "Output written on " | cut -d " " -f 4`
fi
if [ -z "$PDFFILE" ] ; then
echo error - no pdf-file created
if [ ! -z $3 ]; then
cat output.log | mail -s "Latex: $1/$TEXFILE" $3
fi
exit
else
echo -n "($counter/3) "
if [ $counter -eq 3 ] ; then
echo success
38

cp "$PDFFILE" "$2/pdf"
fi
fi
done
/etc/crontab [-rw-r--r-- root root]
0 2 * * * root eb_svn_up-to-date /var/lib/svn/latex /usr/src/latex >/dev/null 2>&1 || \
( svn update /usr/src/latex/ > /dev/null 2>&1 && \
/usr/local/bin/eb_process_files /usr/src/latex/ tcp >/dev/null 2>&1)
39