Embed Size (px)
Citation preview
Asylum Laser Cutter Usage and Safety Training-Epilog Helix Cutter and Engraver
Derek Seabury &Jimmie Rodgers
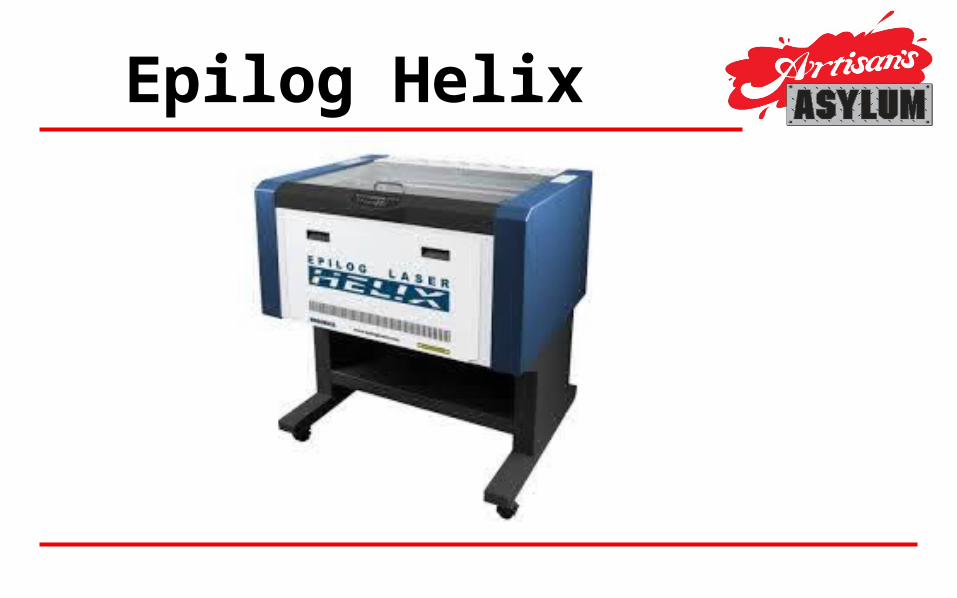
Epilog Helix
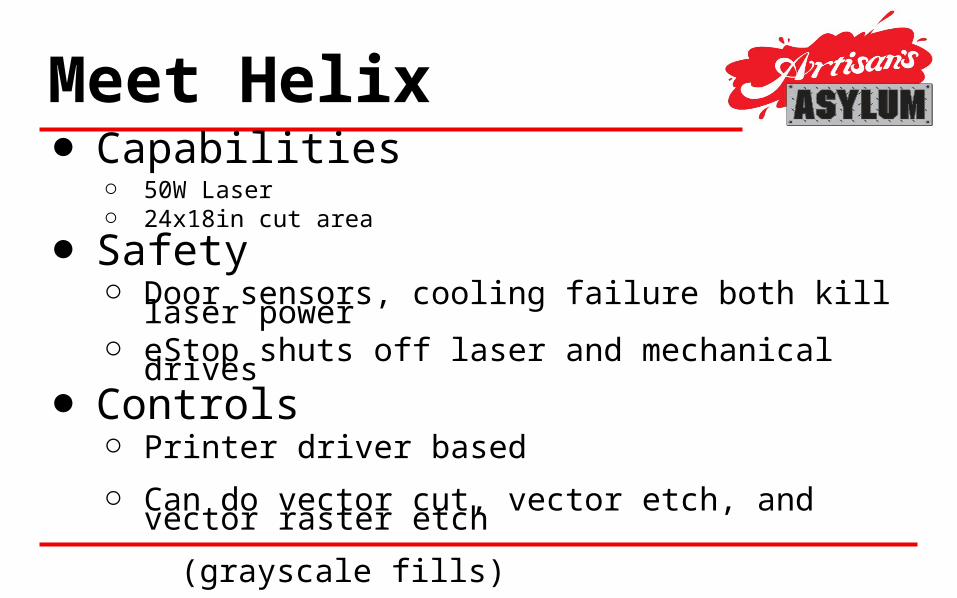
Meet Helix● Capabilities
○ 50W Laser○ 24x18in cut area
● Safety○ Door sensors, cooling failure both kill laser power○ eStop shuts off laser and mechanical drives
● Controls○ Printer driver based○ Can do vector cut, vector etch, and vector raster etch
(grayscale fills)
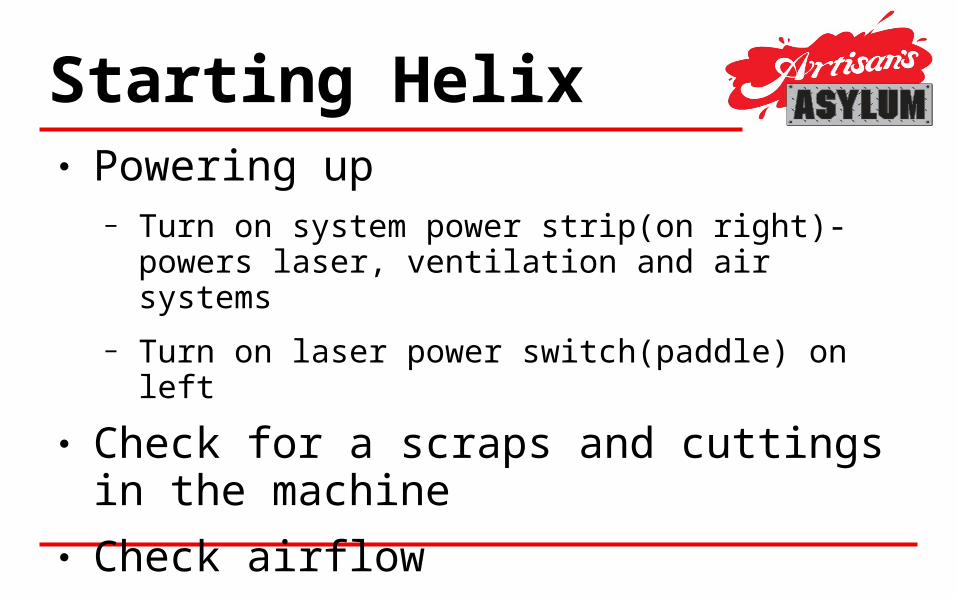
Starting Helix● Powering up
− Turn on system power strip(on right)- powers laser, ventilation and air systems
− Turn on laser power switch(paddle) on left● Check for a scraps and cuttings in the
machine● Check airflow
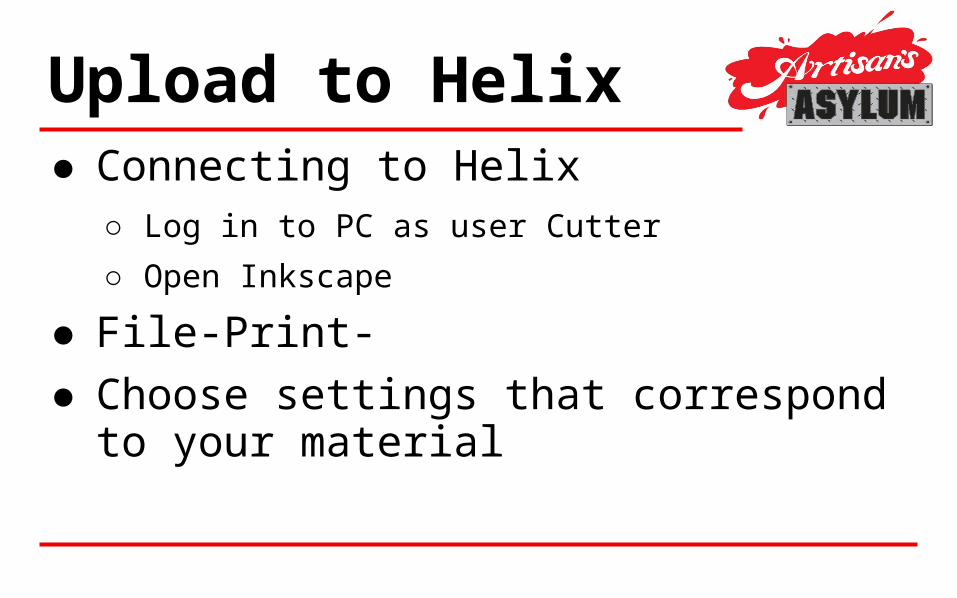
Upload to Helix● Connecting to Helix
○ Log in to PC as user Cutter○ Open Inkscape
● File-Print-● Choose settings that correspond to your
material
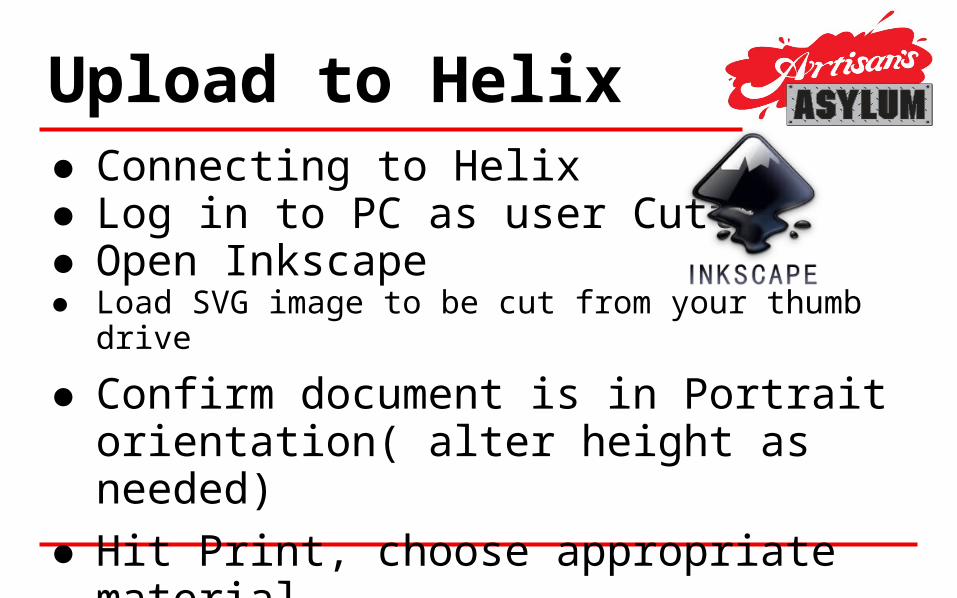
Upload to Helix● Connecting to Helix● Log in to PC as user Cutter● Open Inkscape● Load SVG image to be cut from your thumb drive
● Confirm document is in Portrait orientation( alter height as needed)
● Hit Print, choose appropriate material
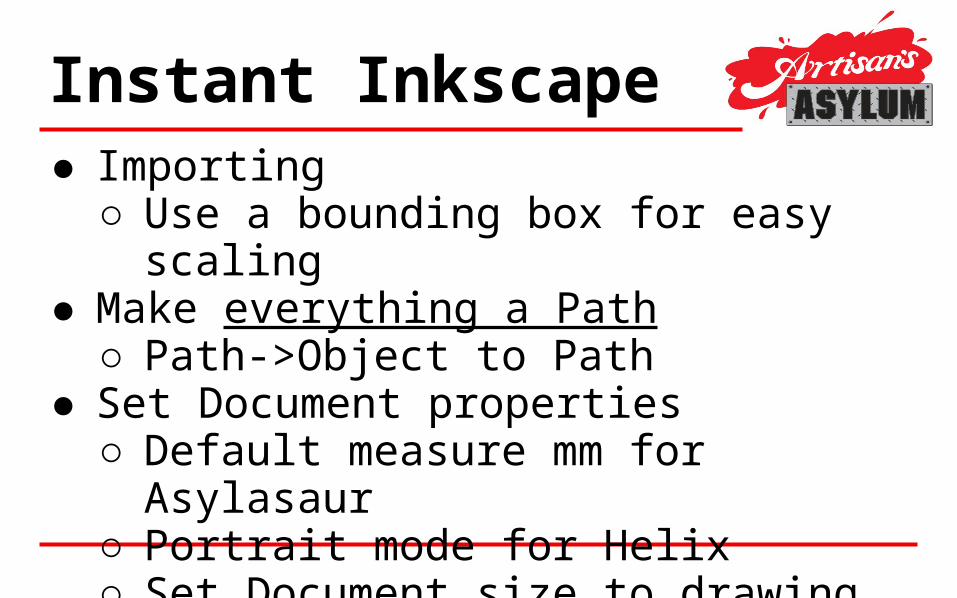
Instant Inkscape● Importing
○ Use a bounding box for easy scaling● Make everything a Path
○ Path->Object to Path● Set Document properties
○ Default measure mm for Asylasaur○ Portrait mode for Helix○ Set Document size to drawing size
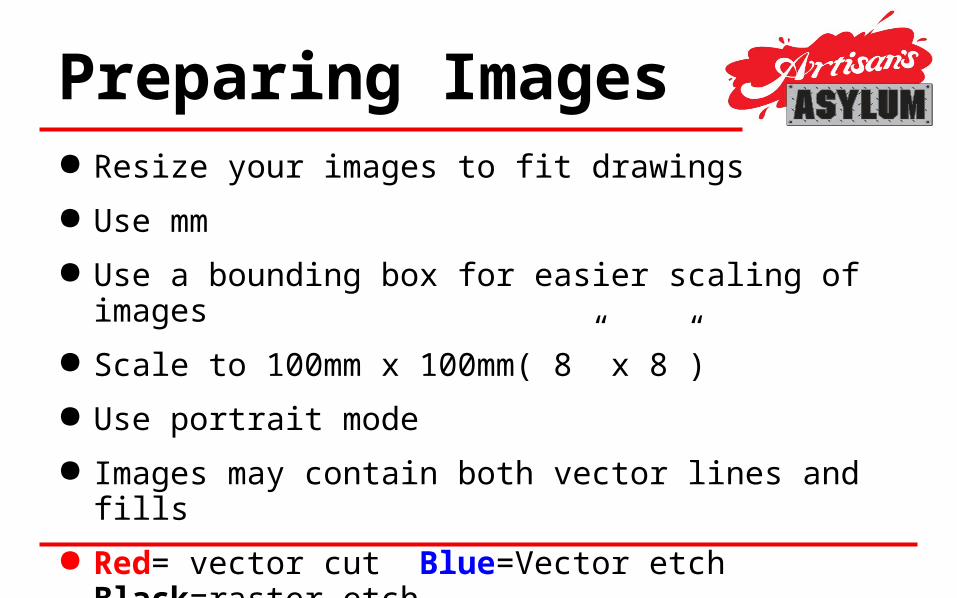
Preparing Images ● Resize your images to fit drawings● Use mm● Use a bounding box for easier scaling of images● Scale to 100mm x 100mm( 8” x 8”)● Use portrait mode● Images may contain both vector lines and fills● Red= vector cut Blue=Vector etch Black=raster etch
Helix Cut Files● Helix etches files that the machine prints
○ Document must be portrait mode○ The etch depth will be dependent on darkness of
color○ You don’t have to convert to paths
● Vectors that are red will be cut○ Paths and outlines in SVG○ Must be RGBA #FF0000FF○ Must have stroke width > 0 ○ Cut will occur after etching○ Cuts will etch if document contains gradients!

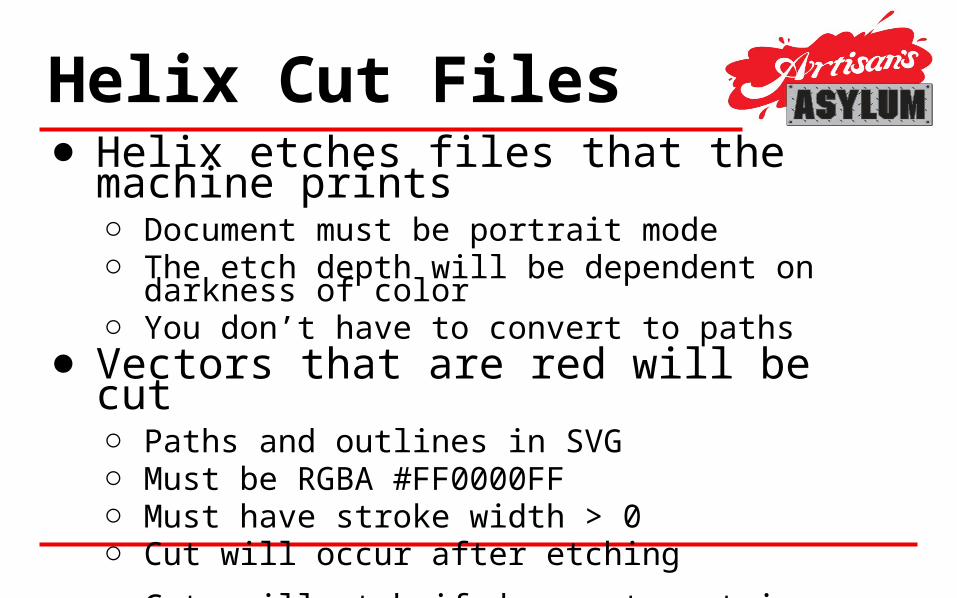
Helix Cut Files● Helix etches files that the machine prints
○ Document must be portrait mode○ The etch depth will be dependent on darkness and
color
● Vectors that are red will be cut○ Paths and outlines in SVG○ Must be RGBA #FF0000FF○ Must have stroke width > 0(0.1 pt) ○ Cut will occur after etching○ Cuts will etch if document contains gradients!
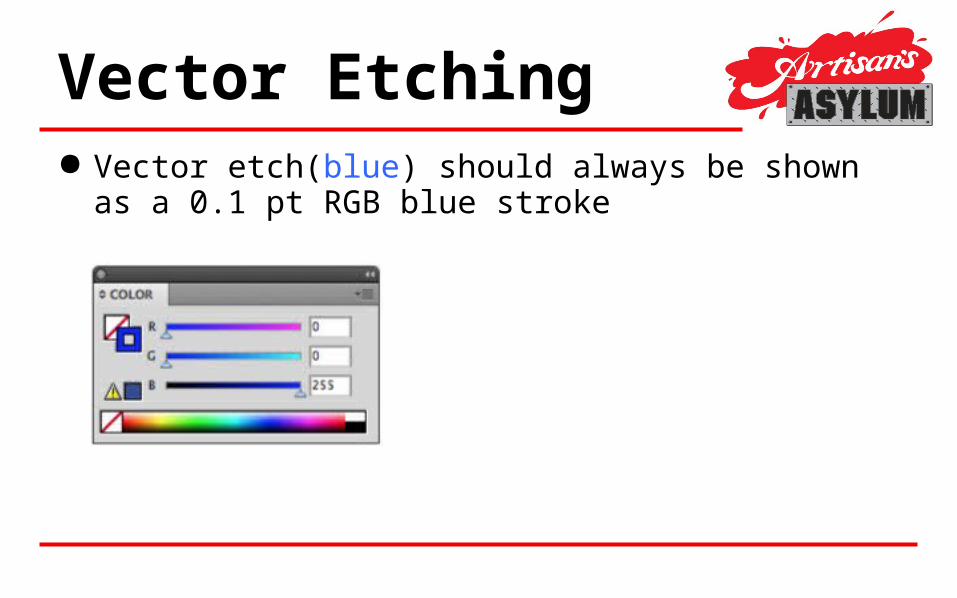
Vector Etching ● Vector etch(blue) should always be shown as a 0.1 pt
RGB blue stroke
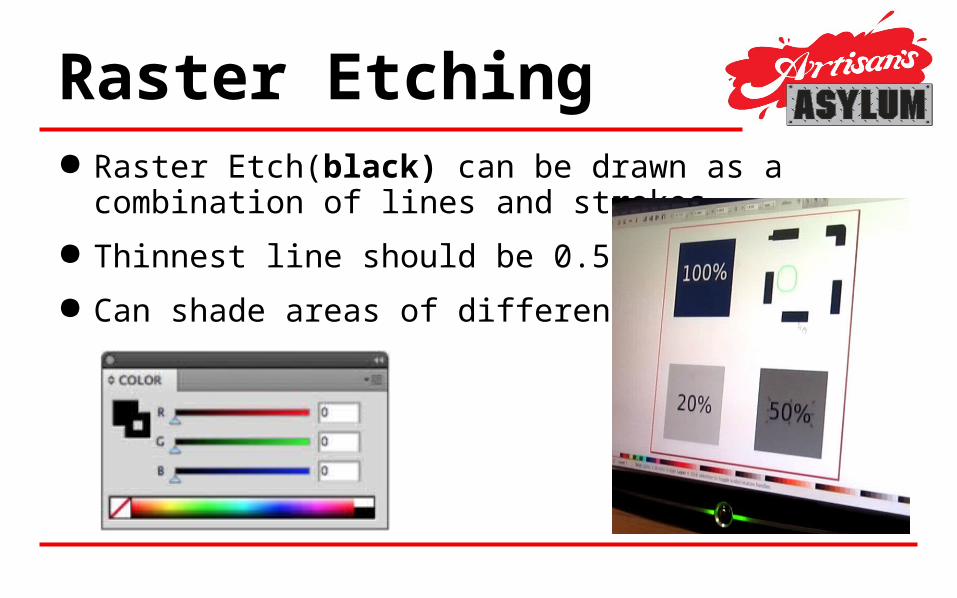
Raster Etching● Raster Etch(black) can be drawn as a combination of
lines and strokes.● Thinnest line should be 0.5 pt● Can shade areas of different density
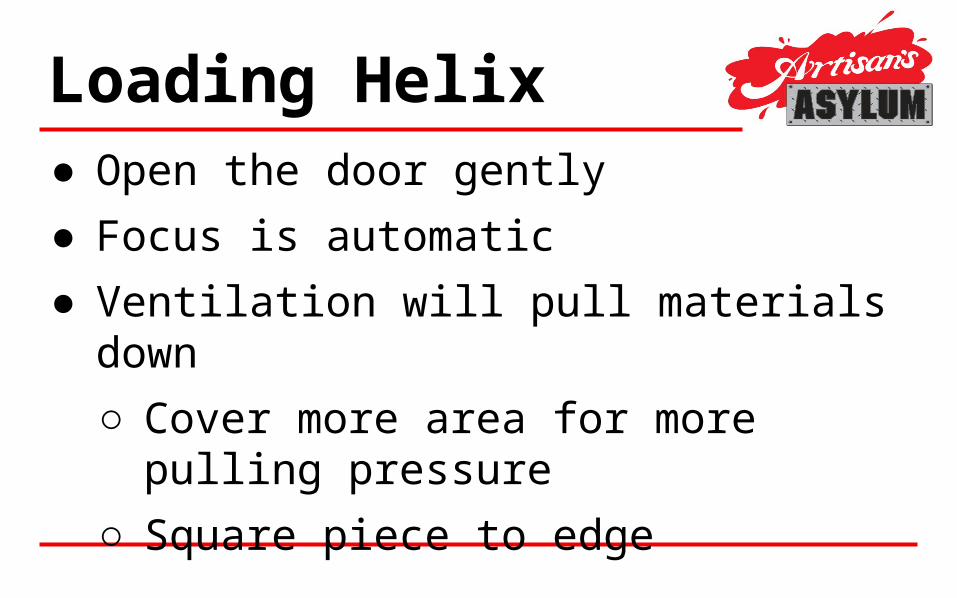
Loading Helix● Open the door gently● Focus is automatic● Ventilation will pull materials down
○ Cover more area for more pulling pressure
○ Square piece to edge
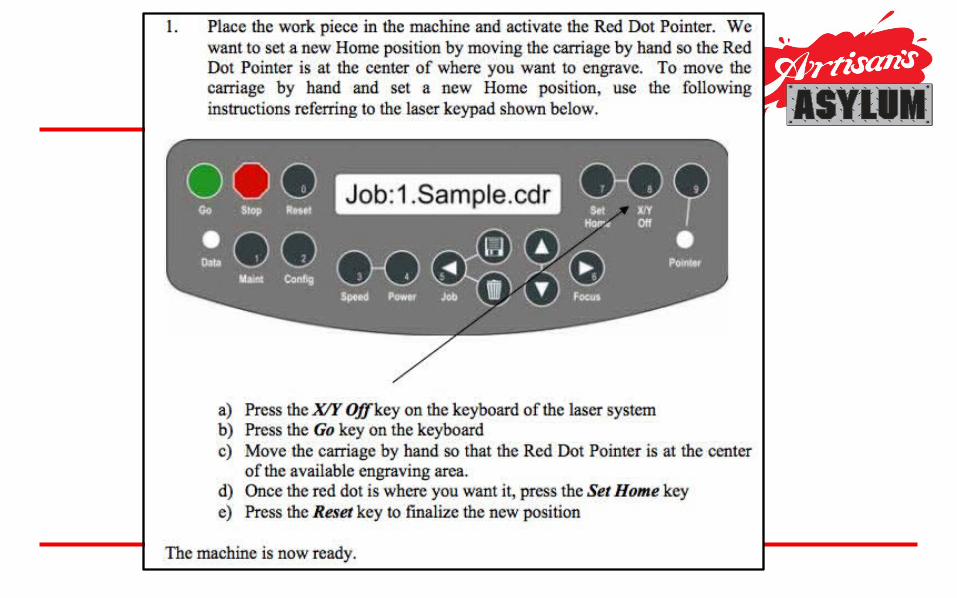
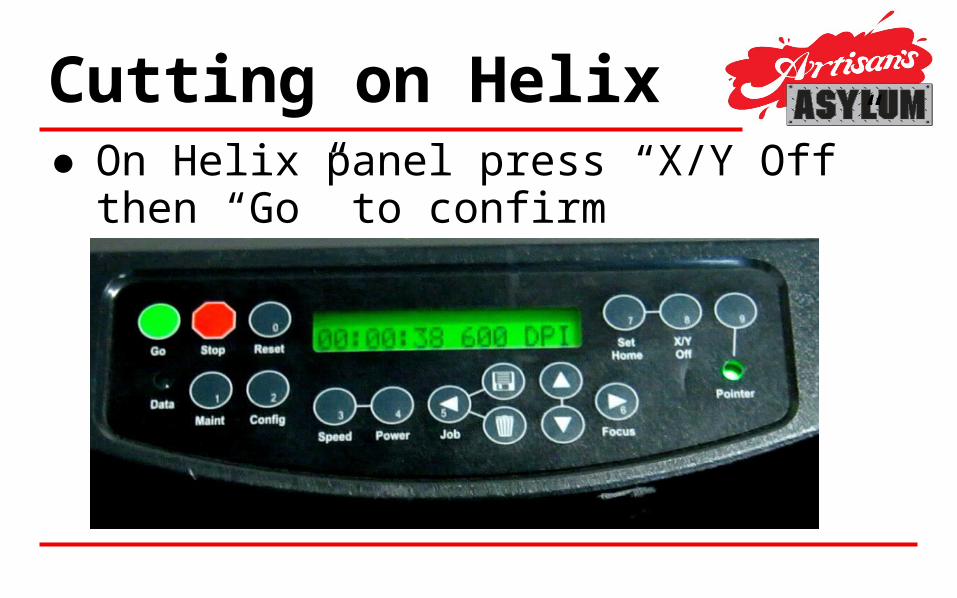
Cutting on Helix● On Helix panel press “X/Y Off” then “Go” to
confirm
Cutting on Helix● Move gantry to desired Origin(center of
work-piece) by hand-○ If there is resistance repeat first step
● Press “Set Home” button● Hit “Reset” button to confirm origin● Hit Go button to start job
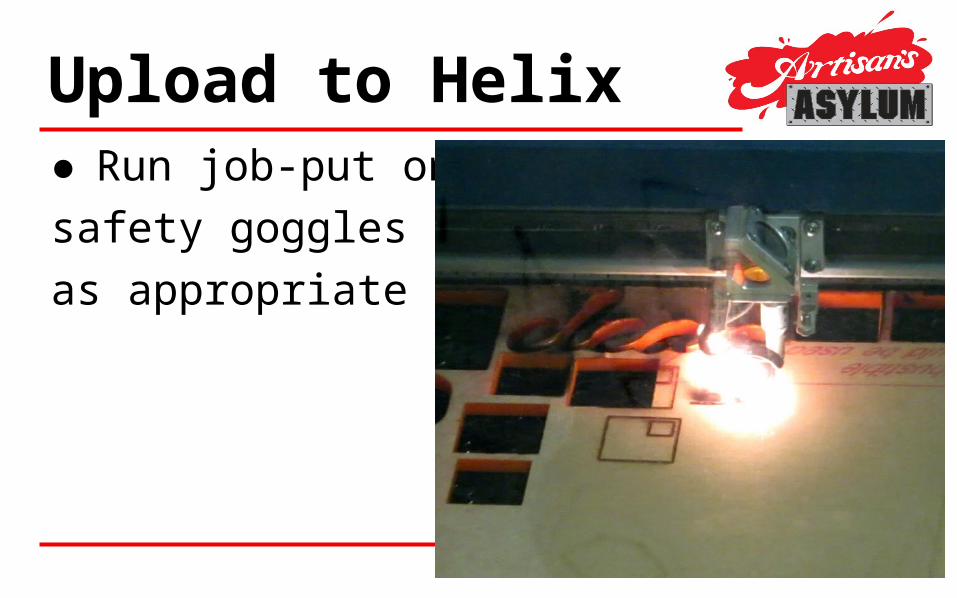
Upload to Helix● Run job-put onsafety gogglesas appropriate

Things That Go Wrong
● 3 Problems laser cutting○ Moving to or cutting in the wrong place
■ Head isn’t where you expected■ Nothing happening under the head
○ Head crash■ Work or the bed making contact
○ “Extra” Fire■ Flames other than where
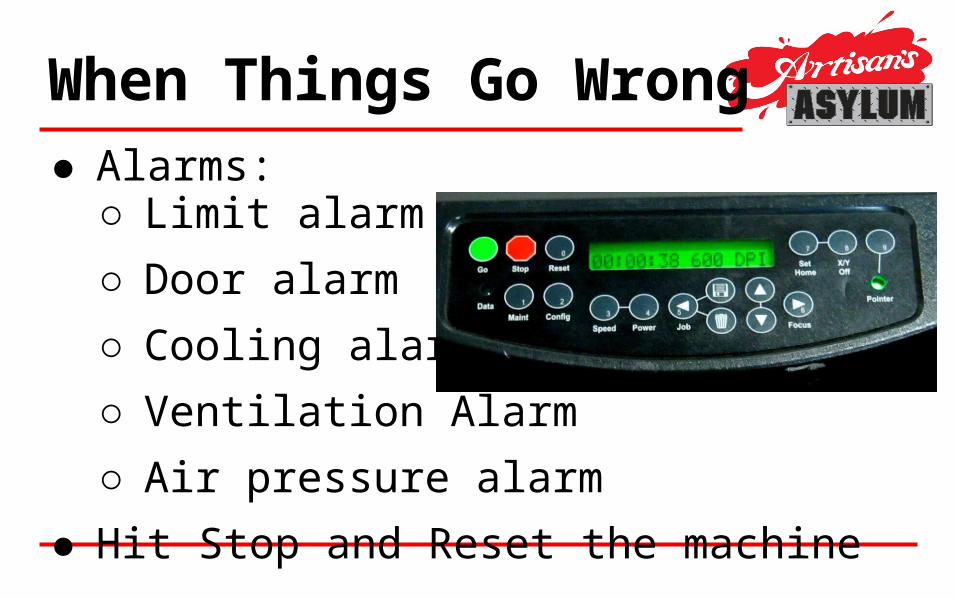
When Things Go Wrong● Alarms:
○ Limit alarm○ Door alarm○ Cooling alarm○ Ventilation Alarm○ Air pressure alarm
● Hit Stop and Reset the machine
When Things Go Boom● FIRE!
○ Open door, stop job○ Blow fire out○ Pat fire out○ Fyre-B-Gon spray fire out○ Use fire extinguisher
● Stay calm - remember you asked for fire!
Finishing up on Helix● Note run time at completion for billing● Allow ventilation( at least 3 minutes for
plastics)● Remove work● Power off laser and support systems.● Put money in the jar- $7.50 per 5 minutes
of run time● Problems- Submit ticket through the wiki
Comments? Questions? Requests?

![Die Passagierin - staatstheater.karlsruhe.de · Mieczysław Weinberg [Vainberg, Moisei Samuilovich] Die Passagierin op. 97 (1967-68) Oper in zwei Akten, acht Bildern und einem Epilog](https://img.pdfslide.org/doc/110x75/5b63652b7f8b9a3c5e8beef0/die-passagierin-mieczyslaw-weinberg-vainberg-moisei-samuilovich-die-passagierin.jpg)